

Are Motorized Blinds Worth It A Guide To Luxury And ROI
February 20, 2026
What Are Pinch Pleat Drapes A Guide To Timeless Window Design
February 22, 2026
When you're faced with an arched window, it can feel like a design puzzle. But the truth is, these architectural gems offer a fantastic opportunity to create a real showstopper in your room. The secret isn't to hide the arch, but to celebrate it.
You really have two main paths to take: you can mount a straight drapery rod just below the arch, or you can go for a truly bespoke look with custom-bent hardware that follows the window's curve perfectly. Either way, you're turning what could be a tricky feature into a stunning focal point for your high-end home or commercial space.
The Art Of Draping Arched Windows
Arched windows are the crown jewels of a property, bringing a touch of grandeur and character that you just don't get with standard rectangular shapes. Because of their unique form, off-the-shelf drapery solutions rarely do them justice. Trying to force a conventional curtain setup onto an arch can look awkward and completely obscure the very feature you love.
This is where the artistry of custom drapery really comes into its own. A well-thought-out treatment works with the window's shape, not against it, providing both the lavish beauty and the functionality you need.
Blending Beauty With Practicality
The ultimate goal is to find that sweet spot between stunning aesthetics and everyday practicality. A great drapery installation can do a lot more than just look pretty.
- Spotlight The Architecture: The right drapes will frame the arch, drawing your eye to its graceful curve instead of hiding it away.
- Master The Light: Whether you're trying to soften the intense Florida sun or just create a gentle, light-filled atmosphere, the right drapes give you that control.
- Guarantee Your Privacy: From a bustling street to a quiet cul-de-sac, custom drapes can provide complete privacy without sacrificing an ounce of style.
- Boost Energy Efficiency: Don't underestimate the power of fabric. High-quality, properly fitted drapes offer a surprising amount of insulation, helping keep your interiors cooler and your energy bills down.
A well-chosen drapery solution does more than just cover a window—it elevates the entire room, turning a simple architectural detail into a powerful design statement.
This is true whether we're talking about a sun-drenched living room or a grand commercial lobby. In our experience, we've found that a significant number of homeowners—about 65%, in fact—choose to mount a straight drapery rod right below the arch. It's a popular strategy because it keeps the window's beautiful curve visible, letting natural light pour in, while still adding the softness and framing of fabric panels.
To see how this method can transform a space, you can get some great insights from the expert advice on hanging drapes for arched windows at DraperyCompany.com. Picking the right approach from the start is the key to creating a space that feels truly exceptional.
To help you visualize these different approaches, let's break down the most common mounting options and see where each one shines.
Arched Window Drapery Mounting Options At A Glance
Understanding the aesthetic and functional trade-offs of each style is key.
- Below The Arch: This classic and elegant style frames the window and preserves the full arch for maximum light. It is best for highlighting architectural details in rooms where full light blockage isn't critical. This look is achieved with a standard straight drapery rod.
- Above The Arch: This approach creates a dramatic and heightening effect, making the window and room appear taller. It covers the arch when closed. It is best for creating a sense of grandeur in rooms needing complete light control and privacy. A standard straight drapery rod is used for this method.
- Inside The Arch: A custom and tailored look that follows the window's curve for a truly integrated, high-end appearance. This is best for unique or irregularly shaped arches and for making a strong design statement. It requires a custom-curved or flexible track system.
Each of these methods offers a distinct look and level of functionality. Your choice will ultimately depend on your room's style, your practical needs for light and privacy, and how much you want to feature the arch itself.
Choosing Your Hardware And Measuring With Precision
The success of hanging drapes on arched windows really comes down to two things: getting your measurements right and picking the right hardware. A small measurement mistake can throw off the entire look, and the wrong hardware can make even the most beautiful fabric look cheap. This is the stage where your vision starts to become a reality.
Getting a professional result starts with a tape measure and a clear plan. Arched windows aren't like your standard rectangles; their curves and unique heights demand extra attention. One wrong number and you could end up with drapes that hang awkwardly, refuse to close properly, or just look… off.
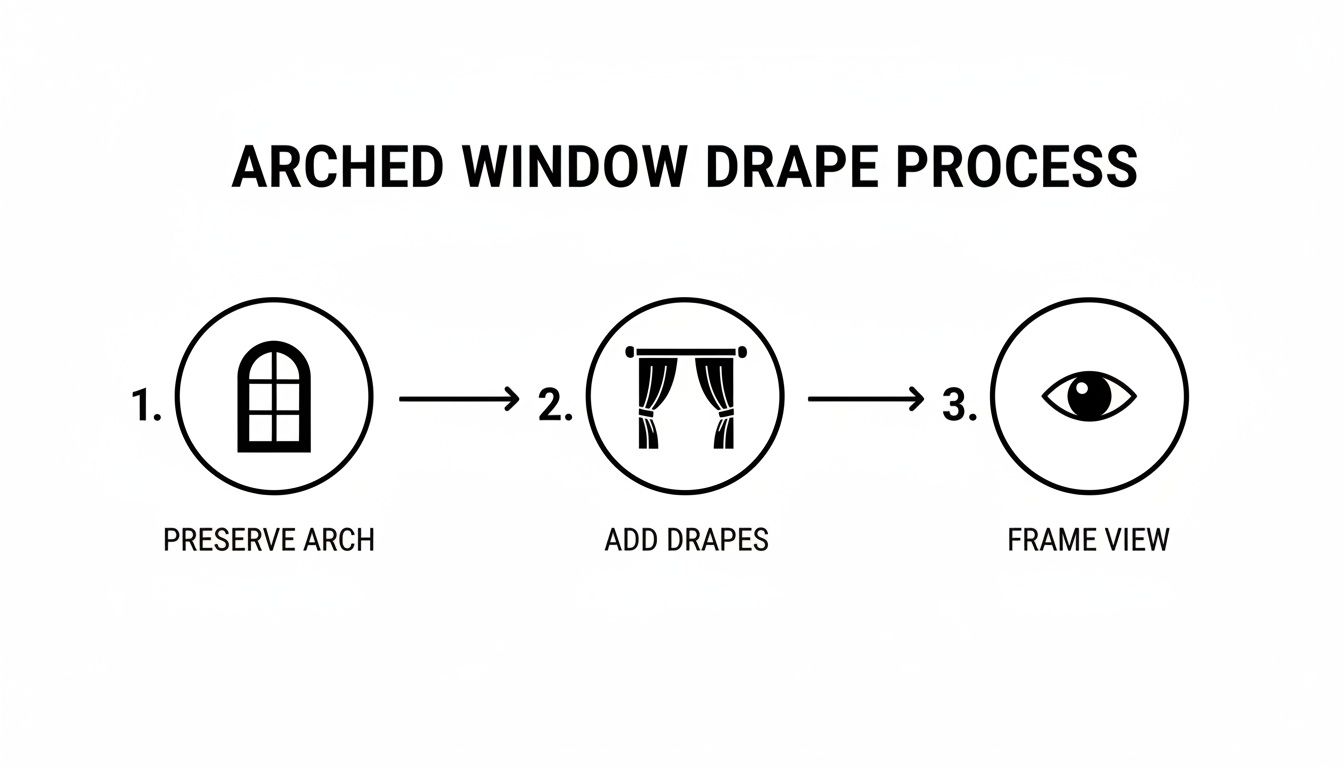
The idea isn't to hide the window's beautiful architecture. It's about complementing it. You want to preserve that elegant curve while adding the softness of drapes and framing your view perfectly.
The Art Of Accurate Measurements
With arched windows, precision is everything. How you measure depends entirely on where you plan to hang the rod.
For a straight rod mounted below the arch, the process is pretty straightforward. You'll measure the full width of the window, including any trim. Then, add at least 6 to 12 inches to each side. This gives your drapes enough room to "stack back" when they're open, clearing the glass so you can enjoy the full view.
If you're mounting the rod above the arch to add a sense of drama, the method changes slightly. Measure the width the same way, but for the height, find the very top of the arch's curve and measure up at least 4 to 6 inches. This is where your rod should sit. It’s a classic designer trick that draws the eye upward, making the whole room feel taller and more spacious.
A common mistake is measuring only the window opening itself. You absolutely have to account for stackback—the space the drapes take up when fully open. Skip this, and your drapes will permanently block part of your window and all that lovely natural light.
Now, for a truly high-end look with a custom-curved rod that follows the arch, the measurements get a lot more involved. This typically requires creating a paper or cardboard template of the arch itself. It has to be perfect, or the rod won't fit. While you can try this yourself, this is one area where calling a professional is strongly recommended to ensure it’s done right. For more foundational tips, our guide on how to measure for blinds covers many principles that apply here, too.
Selecting Hardware That Defines Your Style
Your hardware is so much more than just a metal bar. It’s a crucial design element—the finishing touch that pulls the whole look together and elevates it from ordinary to something special.
The material you choose sets the mood. Wrought iron feels classic and substantial, perfect for traditional or transitional interiors. Polished brass or chrome adds a touch of modern glam, while a simple wood rod brings in natural warmth for a more relaxed vibe. Quality hardware not only looks superior but is built to last, easily supporting the weight of heavier, luxurious fabrics.
Why Rod Diameter And Finials Matter
The scale of your hardware has to feel right for the room and the window. One of the most common design mistakes is picking a rod that’s too thin for a large window or a heavy fabric.
- Rod Diameter: For standard ceilings and lighter fabrics, a rod with a 1-inch to 1 3/8-inch diameter usually works well. But for those tall, grand arched windows or heavy fabrics like velvet, you need a rod that's 2 inches or more in diameter. It provides the necessary visual weight and, more importantly, prevents the rod from bowing over time.
- Finials: Think of these decorative end caps as the jewelry for your windows. Your choice of finial should complement the rod and the room's decor. A simple end cap creates a clean, understated look, while an ornate crystal or a sculpted metal finial can make a bold, luxurious statement.
In the end, every single choice, from that first measurement to the final finial, shapes the final result. Taking your time to be precise and thoughtful at this stage is the secret to creating a truly stunning look for your arched windows.
Mastering Installation For Different Arch Styles
Alright, you've done the hard work of measuring and picking out your hardware. Now comes the fun part: bringing it all to life. The installation is where your vision truly takes shape, turning a simple plan into a stunning architectural feature. How you tackle this step really depends on the look you're going for, as each method has its own technique for getting that flawless, high-end finish.
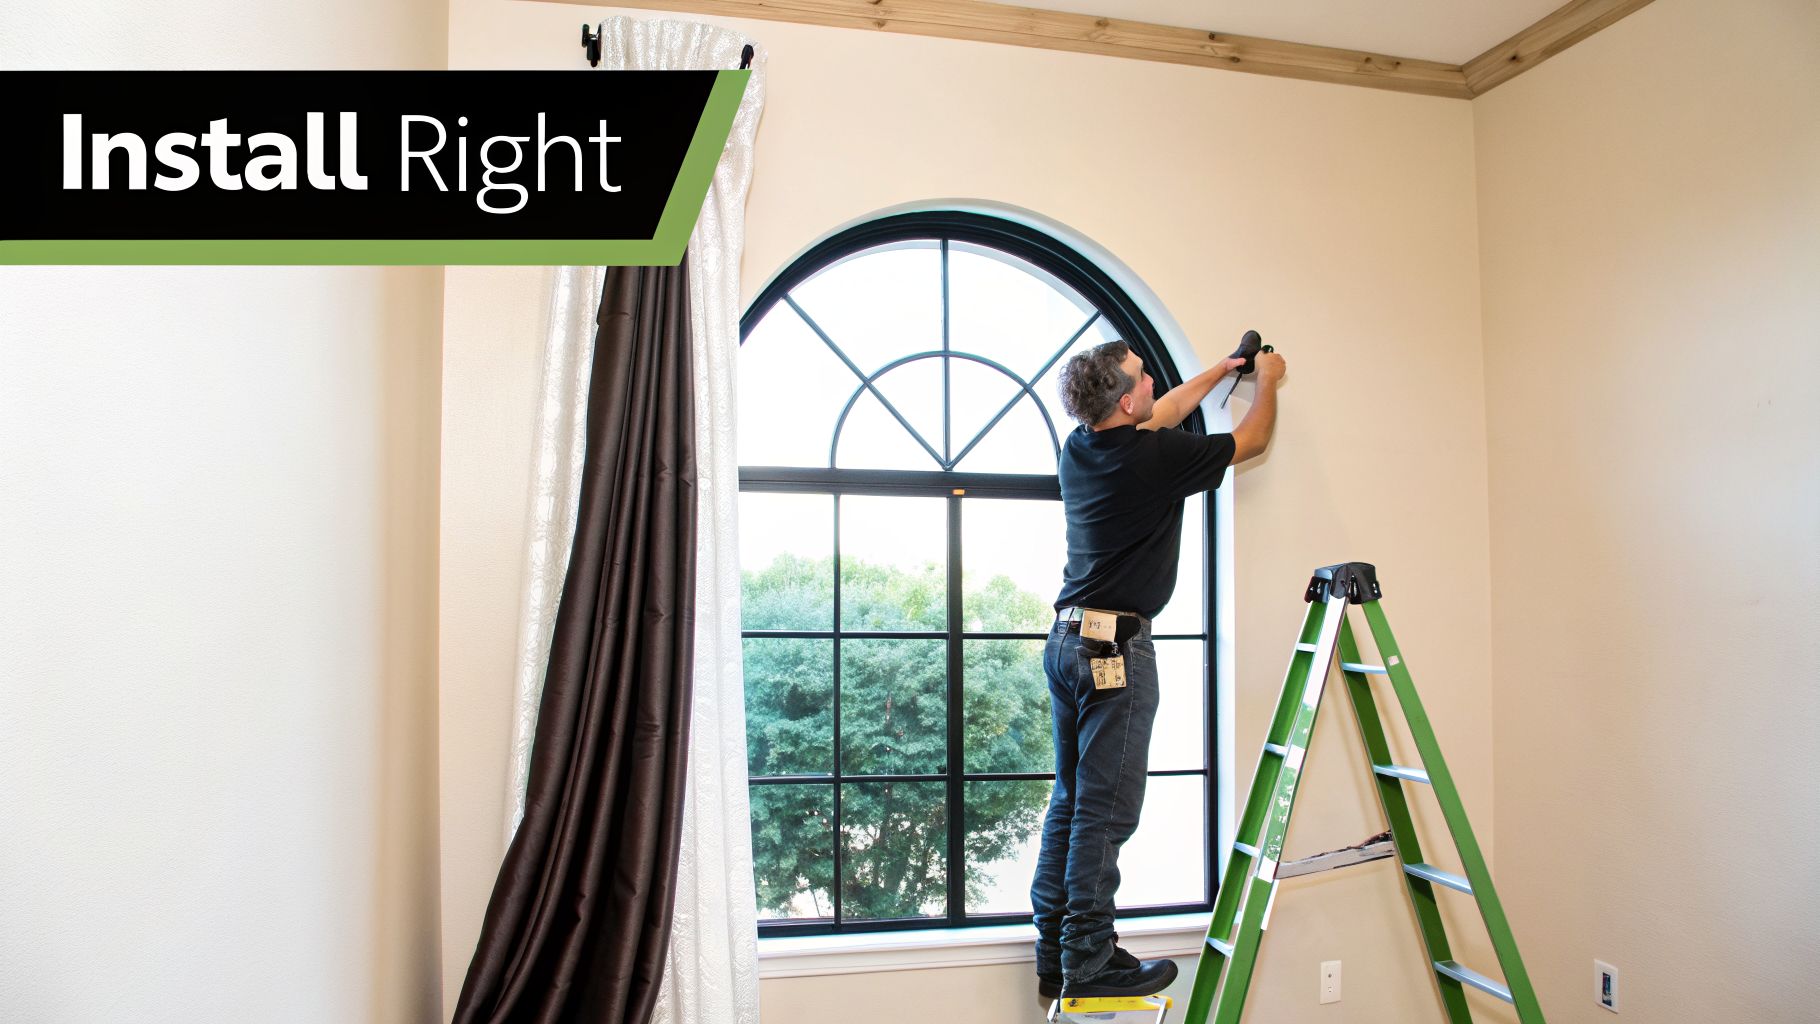
Whether you're framing the curve or following it precisely, success is all in the details—from the tools you use to where each bracket is placed. This is especially true for homes and commercial properties with those gorgeous soaring ceilings, where safety and solid installation are non-negotiable.
Installing A Straight Rod Below The Arch
This is the classic, go-to approach for a reason. By placing a straight rod just below the spring line—that’s the spot where the straight part of the window ends and the arch begins—you preserve the window's beautiful shape while adding the softness and function of drapes. It's an elegant solution that frames the view without covering up what makes the window special.
For this installation, you'll need the basics: a good drill, a level, a tape measure, and a pencil. Start by finding the spring line on both sides of the window. You’ll want to mount your brackets 4 to 6 inches out from the window frame and perfectly level with each other, sitting just below this line.
A laser level is your best friend here; it takes all the guesswork out of getting your rod perfectly horizontal. Once the brackets are securely anchored (into studs, if possible, or using high-quality drywall anchors), you can set the rod in place and hang your drapes. The result is a timeless look that lets sunlight pour in through the arch while giving you privacy and style below.
Creating Drama With A Rod Above The Arch
If you want to make a room feel taller and more grand, mounting a straight rod high above the arch is a fantastic designer trick. This method pulls the eye upward, creating a sweeping effect that makes both the window and the ceiling feel much higher. It's a powerful choice for rooms with generous ceiling height or if you need a total blackout effect when the drapes are closed.
The key to getting this right is all about height. A good rule of thumb is to place the rod at least 4 to 6 inches above the very top of the arch, or even higher if you have the space. In truly grand rooms, positioning the rod about halfway between the top of the arch and the ceiling or crown molding creates an absolutely magnificent visual.
The installation process is similar to the below-arch method:
- Measure and mark where your brackets will go, making sure they’re the same distance from the window frame.
- Use your level to confirm the marks are perfectly aligned.
- Securely fasten the brackets. Pay close attention to the weight they can handle, especially if you have heavy, lined drapes.
The most critical thing to remember with a high mount is the rod length. You need a rod that extends at least 10-15 inches past the window frame on each side. If it's too short, the drapes will block the arch when they're open, defeating the whole purpose.
The Ultimate Custom Fit With Curved Hardware
For a truly bespoke look, nothing beats hardware that follows the exact curve of your arch. This approach stops the drapery from being just a window covering and makes it an integrated part of the architecture itself. It's a highly sophisticated solution that requires specialized hardware, like a custom-bent metal rod or a flexible track system.
Honestly, installing a custom-curved rod is a job best left to the pros. It demands an incredible level of precision. The process usually starts with making a perfect template of your window's arch. That template is then sent to a fabricator who creates a rod or track that mirrors the curve flawlessly.
During installation, brackets have to be placed at strategic points along the curve to provide even support and prevent any sagging. The spacing here is critical—you'll often need a bracket at the peak of the arch and then at regular intervals, typically every 24 to 30 inches, to make sure the drapery glides smoothly. This method is especially stunning for stationary panels meant to permanently frame the arch, adding a kind of sculptural beauty. It's a real investment in personalized design and a hallmark of high-end projects where every detail counts.
Advanced Styling And Motorization Solutions
Once you’ve nailed down the measurements and hardware, the real fun begins. This is where we move from the practical to the artistic, transforming a simple window treatment into a true design statement. It’s all about layering, adding texture, and incorporating smart technology to create a look that’s not just beautiful, but perfectly suited to a modern, luxurious lifestyle.
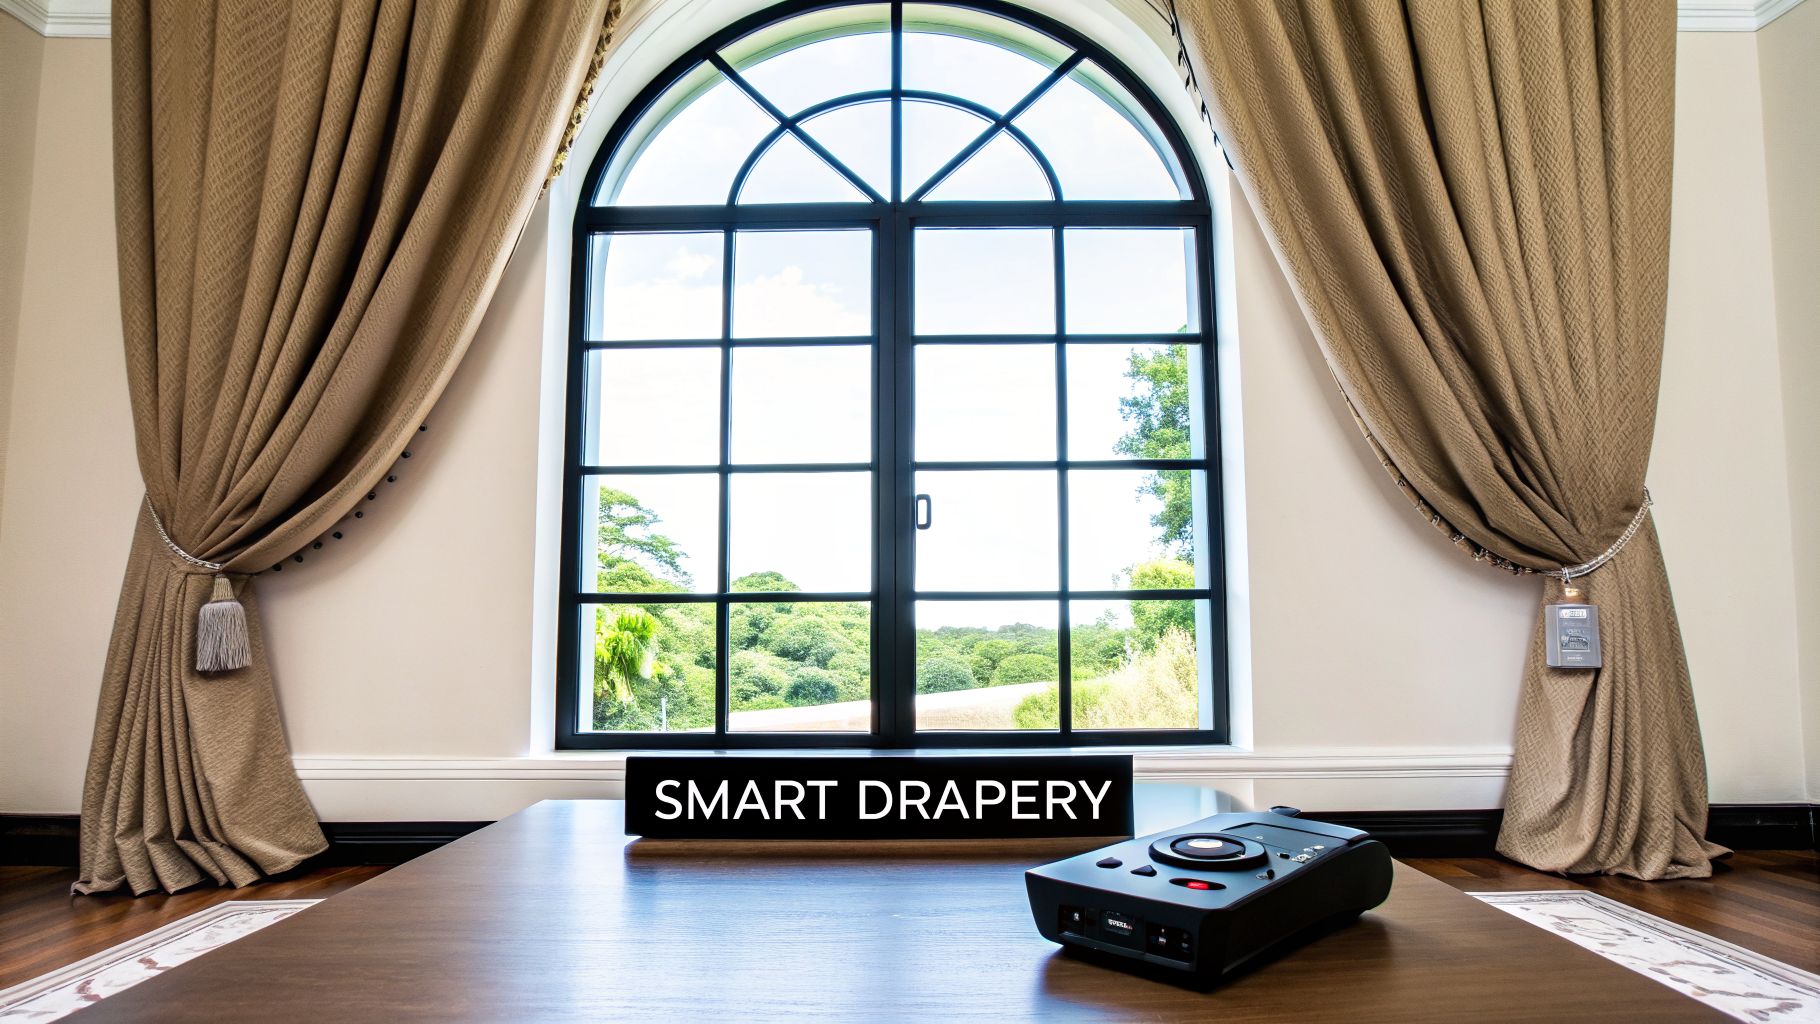
We're shifting focus from basic function to creating an experience. Whether it's the understated elegance of stationary panels or the effortless control of motorization, these advanced options are what elevate an arched window from a feature to a masterpiece.
The Understated Elegance Of Stationary Panels
Here’s a little secret: not every drapery needs to open and close. In many high-end designs, stationary side panels are the perfect finishing touch for an arched window. These panels are fixed in place, serving a purely decorative purpose—to beautifully frame the window’s unique architecture.
This approach is all about adding softness, color, and texture without ever blocking that gorgeous arch or the light pouring through it. This works especially well in formal living rooms, dining spaces, or grand entryways where the goal is pure aesthetic impact. You’re not just covering a window; you’re celebrating its shape.
Elevating The Design With Custom Top Treatments
For a more formal, layered look, a custom top treatment is the way to go. These pieces sit above the drapery, either tracing the curve of the arch or creating a new, strong horizontal line.
- Custom-Shaped Valances: We can craft a soft, upholstered fabric valance that follows the window's curve perfectly. It adds a classic, refined touch and is a great way to conceal any hardware for a seamless look.
- Architectural Cornices: If you want something with more structure and presence, a wood cornice built to match the arch is a fantastic choice. It adds real architectural depth and can be painted or stained to match the room’s trim, making it feel like a truly integrated part of the home.
A pro tip I often share with clients: combining stationary panels with a custom-shaped cornice is a hallmark of sophisticated design. It creates a polished, intentional look that honors the window's unique form.
Embracing Modern Luxury With Motorization
For those stunning two-story great rooms or hard-to-reach arched windows, motorization isn't a luxury anymore—it's a game-changer. Imagine adjusting your drapes for light and privacy with just the touch of a button. It’s a seamless blend of convenience and clean aesthetics.
Motorized tracks are typically installed on a straight rod either above or just below the arch. Today’s systems are whisper-quiet and powerful enough to move even the heaviest, most luxurious fabrics smoothly. This is a must-have for grand spaces where pulling drapes by hand just isn't practical. If you're curious how this technology works, you can learn more about working drapes on motorized tracks and see just how well they integrate into a high-end design.
To help you visualize the best path for your project, let's compare these popular solutions.
Comparing Drapery Solutions For Arched Windows
Deciding between functional, stationary, or motorized drapery depends on your lifestyle, the room's purpose, and your aesthetic goals.
- Stationary Panels: This decorative-only solution does not open or close. It frames the window, adding softness, color, and texture without blocking the arch. It is ideal for formal living rooms, dining rooms, and entryways where function isn't needed.
- Functional Drapes: These are fully operable for light control and privacy. They can be drawn to cover the window, offering a classic and versatile look. This solution is ideal for bedrooms, family rooms, and spaces requiring daily light and privacy control.
- Motorized Drapes: Fully operable via remote, app, or smart home integration, this solution offers a clean, modern aesthetic with no visible cords or wands. It is ideal for tall, hard-to-reach windows, media rooms, and smart homes.
- Custom Top Treatment: A decorative element that can be combined with stationary or functional drapes. It adds architectural detail, formality, and can conceal hardware. It is ideal for spaces aiming for a highly polished, layered, and traditional look.
Ultimately, the right solution is the one that not only looks beautiful but also enhances how you live in the space.
Perfecting The Look With Fabric And Headers
The final touches are all about the details—specifically, the fabric and the drapery header. The right combination is what creates that grand, flowing look that an arched window deserves.
The fabric’s weight, or "hand," is critical. It needs enough body to hang beautifully in elegant, sweeping folds. We always recommend richer materials like velvet, linen blends, or high-quality silks. As for the header style, these are two classics that never fail:
- Pinch Pleat: A timeless, tailored choice that creates a full, classic look. It’s incredibly versatile.
- Goblet Pleat: More formal and sculptural, these pleats are shaped like a wine glass and add a touch of old-world grandeur—perfect for a truly dramatic statement.
Extending Elegance Outdoors
Arches aren't just for indoors. They are often featured on patios, loggias, and cabanas, presenting a fantastic opportunity for luxurious outdoor drapery. Of course, this requires materials and hardware built to handle the elements.
Always look for weather-resistant hardware like stainless steel or powder-coated aluminum to prevent rust. For fabrics, solution-dyed acrylics are the industry standard because they’re built to resist fading, moisture, and mildew. Adding outdoor drapes can completely transform an exterior space into a shady, private, resort-like retreat.
Solving Common Challenges With Expert Troubleshooting
Even when you plan everything perfectly, arched windows can throw you a curveball. These beautiful architectural features often have their own little quirks, from walls that aren’t quite plumb to arches that have settled a bit over time. Knowing how to handle these issues is what takes an installation from "good" to "flawless."
With our 30+ years of hands-on experience, we have seen it all. What looks like a major roadblock is usually just an opportunity for a creative, expert fix. The real skill is knowing how to adapt on the fly to the reality of the space.
Handling Imperfect Walls And Arches
One of the most common surprises is discovering that a wall is uneven or an arch isn't a perfect half-circle. This can throw off even the most careful measurements, creating awkward gaps or making the final look feel unbalanced.
If we're installing a custom-curved rod on an imperfect arch, the solution is often in small, strategic tweaks to where the brackets are placed. This approach can subtly smooth out minor inconsistencies, letting the rod create the intended visual line instead of following every tiny dip and bump. For straight rods, a laser level is a non-negotiable tool. It helps us establish a truly horizontal line, no matter what a sloping ceiling or uneven wall is doing.
In older, historic properties, we've learned that no two arches are ever identical. An installer's ability to troubleshoot right there on-site is what delivers that symmetrical, high-end finish that honors the home's unique character.
Managing Exceptionally Wide Or Tall Windows
Those grand, oversized arched windows are absolutely stunning, but they bring their own set of structural challenges to the table. A classic problem with extra-wide windows is rod sag, where the drapery rod starts to bow in the middle under the fabric's weight.
To head this off, we make sure to use a rod with a substantial diameter—often 2 inches or more for those wide spans. Adding center support brackets is also critical. As a general rule, we place a support bracket every 30 to 36 inches to distribute the weight evenly and keep the rod perfectly straight and rigid.
For very tall windows, the sheer weight of the fabric itself can put a lot of strain on the entire system. This makes heavy-duty hardware and secure anchoring an absolute must. Sometimes, the smarter move is to go with a more lightweight fabric, especially if you're looking for total light blockage. You can learn more about how to achieve this by understanding what blackout curtains are and how they can be both effective and manageable.
Ensuring Smooth Operation On Curved Tracks
When you have drapes on a custom-curved track, they absolutely have to glide smoothly. If they catch or drag, it completely undermines that luxurious feel you're going for.
Here’s what makes the difference:
- Proper Carrier Spacing: We ensure the carriers—those little gliders that hold the drapery pins—aren't packed too tightly. This gives them the room they need to move freely around the curve without bunching up.
- Quality Of The Track: A high-quality, well-lubricated track system is a game-changer. Premium tracks are engineered for an effortless glide, even around tight curves.
- Correct Drapery Fullness: If the drapes are too full or heavy for the track you've chosen, they're going to fight you. An expert can calculate the perfect fullness ratio that works for both your fabric and your track system.
Knowing when to call for backup is the sign of a smart property owner. Trying to tackle these challenges without a deep well of experience can quickly lead to frustration and expensive mistakes. An expert eye not only solves the immediate problem but ensures the final result is every bit as beautiful and functional as you imagined.
When To Call In A Professional
While this guide gives you the tools to tackle an arched window project, some challenges just scream for an expert’s touch. There are moments when the precision and finesse that only come from years of hands-on experience make all the difference. Knowing when to hand over the reins is the key to getting that truly high-end, flawless result.
Think about the value of an in-home consultation, where an expert can see the space firsthand, or the quality that comes from a dedicated local workroom. This kind of oversight guarantees that custom-curved hardware fits perfectly down to the millimeter and that every single pleat is exactly right. You just can't replicate that level of quality control with an off-the-shelf solution.
The Value Of A Specialist Approach
A professional team brings so much more than just a toolkit and a ladder. They bring a deep, practical understanding of how to work with a property’s unique architecture and character.
Our installation team, for instance, handles everything. We've balanced on ladders to get the alignment perfect on soaring two-story walls and have carefully removed and disposed of old, dated treatments for clients. It’s this complete, end-to-end service that turns a potentially stressful job into a genuinely effortless experience.
We bring that same meticulous focus to every project, whether it's a single, stunning arched window in a luxury home or a whole series of grand arches in a hotel. The core principles of precision, quality, and durability never change. The final installation has to do more than just look beautiful—it needs to function perfectly for years.
A custom drapery solution from a trusted specialist is more than a window covering; it's a long-term investment in your property's beauty and value, designed to honor its architecture and stand the test of time.
Why A Custom Solution Matters
A DIY project can be incredibly rewarding, but it’s also full of potential pitfalls. The risk of one wrong measurement, choosing the wrong hardware, or an installation that just looks a little off can leave you with a result that doesn't quite match your vision.
Working with a professional ensures the final product isn't just hung correctly; it’s a true piece of bespoke design that feels like it has always been a part of the room.
For homeowners and commercial property managers who want perfection, understanding the benefits of professional drapery installation near you is often the final step in truly transforming a space. It's the best way to guarantee the project is completed with artistry and a genuine commitment to getting every last detail right.
Your Questions About Arched Window Drapery, Answered
When you're dealing with the unique beauty of arched windows, a few questions always seem to pop up. Let's walk through some of the most common ones to clear things up and get you on the right track for a gorgeous, professional-looking result.
Can I Use Regular Curtains On My Arched Window?
Yes, you absolutely can, and it's a very popular approach. The simplest and often most elegant method is to mount a straight drapery rod just below the curve of the arch. This lets the drapery panels frame the window, adding softness and color without hiding that beautiful architectural detail.
If you need drapes that cover the entire arch for total light control or privacy, that’s when things get more specialized. For that kind of functionality, custom fabrication and specialized curved hardware are a must. It’s a bespoke solution, but it’s the only way to achieve that polished, high-end look that perfectly follows the window's unique shape.
How Far Above The Arch Should I Hang The Drapery Rod?
To really make a statement and add a sense of height to the room, we always recommend placing the drapery rod at least 4 to 6 inches above the arch's highest point. This little trick draws the eye upward and makes sure the fabric doesn't awkwardly cut across the curve when the drapes are open.
Got really high ceilings? You can go even higher. A great designer strategy is to split the difference, mounting the rod about halfway between the top of the arch and your ceiling or crown molding. It creates maximum visual impact. If you want to dive deeper into the terminology, we have a great guide on the difference between drapes and curtains.
Is Motorization A Good Option For Arched Windows?
Without a doubt. Motorization is a fantastic, modern solution, and it’s especially practical for those soaring arched windows that are impossible to reach. A motorized track system works perfectly on a straight rod placed above or below the arch, giving you effortless control over your drapes with the push of a button.
This isn't just a luxury feature anymore; it’s a key part of sophisticated, convenient living. It’s the perfect marriage of timeless elegance and modern functionality—an upgrade we highly recommend for any high-end home or commercial space.
At The Drapery Company, we specialize in creating stunning, custom solutions that honor the unique architecture of your space. https://draperycompany.com


