

How To Hang A Curtain For A Truly Luxurious Look
January 25, 2026
Drapes Vs Curtains: Choosing The Right Luxury Window Treatment
January 27, 2026
Before you even think about picking out a stunning fabric or the convenience of motorization, the path to perfect window treatments starts with one simple, crucial step: getting the measurements right. This is the absolute foundation of a successful installation. It’s what guarantees your new blinds will give you that seamless light control and sophisticated look you're after. An off-the-shelf product just can't compete with the tailored elegance of a blind that fits like a glove.
The Foundation Of Flawless Window Treatments
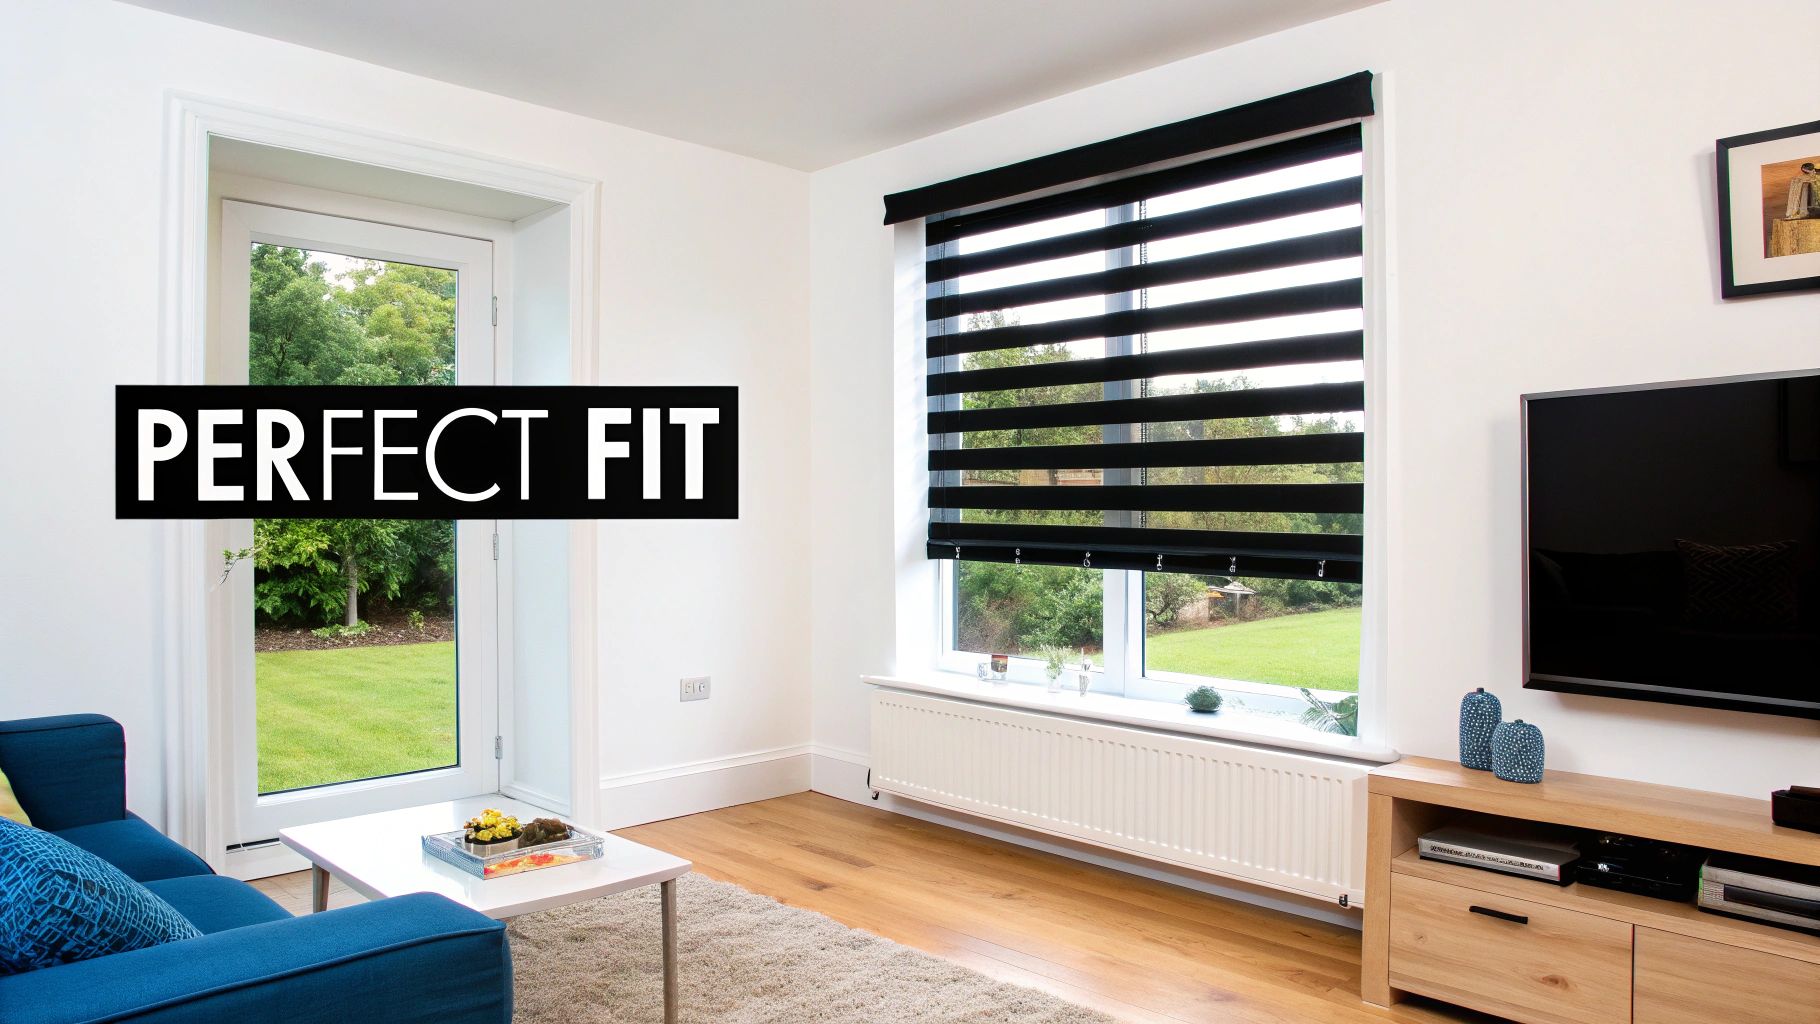
Learning how to measure for blinds isn't just a technical chore; it's the very first move you make in crafting a space that truly reflects your taste and attention to detail. In the world of high-end homes and distinguished commercial properties, the line between a good interior and a great one often comes down to the fit and finish of every single element.
When blinds are measured incorrectly, it can cause a whole host of problems that chip away at a room's luxury. Gaps can let in slivers of unwanted light, undermine privacy, and even hurt your home's energy efficiency. On the other hand, blinds that are too wide might not fit into the window casing at all—a costly mistake that can bring your entire project to a halt.
Why Accuracy Is Non-Negotiable
This guide is here to demystify the process, giving you the same confidence and techniques the pros use. Achieving that flawless, built-in look is completely dependent on getting those initial numbers spot-on. It’s this level of precision that drives the entire custom window treatment industry.
Just look at the numbers. The global market for blinds and shades was valued at USD 14.82 billion and is expected to climb to USD 24.63 billion by 2030. That growth is fueled by homeowners demanding custom, energy-efficient solutions that require an absolutely perfect fit.
A correctly measured and installed blind doesn't just look better—it performs better. You'll maximize its insulating properties and light-blocking capabilities, creating a more comfortable and controlled environment.
This commitment to accuracy is what ensures every component, from the headrail down to the hem bar, aligns perfectly with your window's unique architecture. As you grab your tape measure, just remember that you’re laying the groundwork for a truly bespoke installation. Once you have your numbers, you can start exploring the different types of blinds and visualize how a perfect fit will elevate your chosen style.
Assembling Your Precision Measurement Toolkit
Any pro will tell you that getting a professional result starts with using the right tools. Before you even think about measuring, taking a few minutes to gather the essentials will make all the difference. It’s this simple prep step that sets the stage for a flawless fit and helps you avoid the common, frustrating mistakes that come from rushing.
The absolute hero of your toolkit is a high-quality steel tape measure. Don't even think about using a cloth or vinyl one from a sewing kit—they can stretch and sag, throwing off your numbers. A metal tape gives you the rigid, straight line you need for a truly exact reading. For those really wide windows you see in modern homes or commercial buildings, a laser measure can be a game-changer, giving you dead-on accuracy with just the push of a button.
Essential Gear For The Task
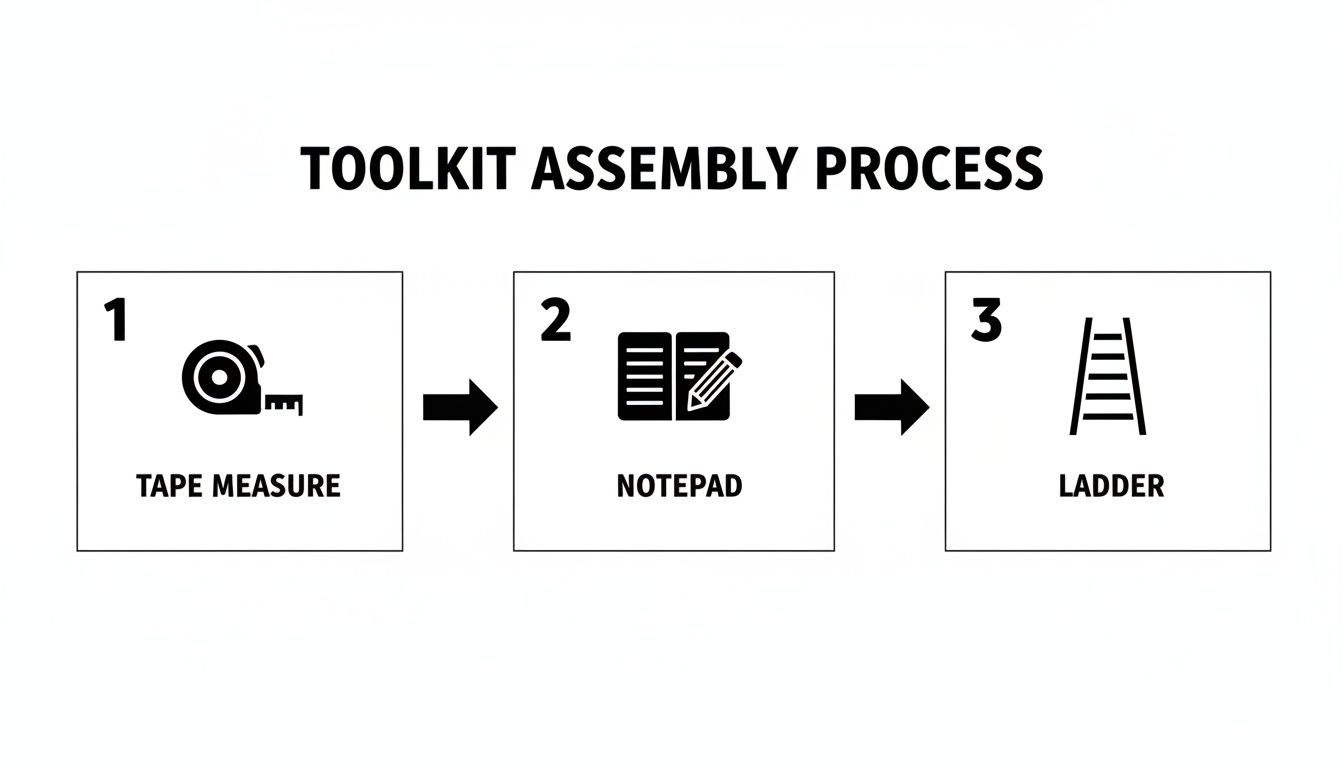
Besides the tape measure, a few other items are non-negotiable if you want to be both safe and precise. You'll want to have these on hand:
- A Sturdy Step Ladder: Please, don't balance on a dining chair or a wobbly stool. A proper ladder is the only safe way to comfortably reach the top of the window frame.
- A Dedicated Notepad And Pencil: Don't trust your memory. Write down every measurement as soon as you take it. I always recommend sketching a quick, simple diagram of the window and labeling the width and height right on the drawing. It saves a ton of confusion later.
- A Carpenter's Level: You'd be surprised how often window sills and frames aren't perfectly square, especially in older homes. A level is the only way to spot these little quirks so you can account for them.
When you approach the job with the right equipment, it stops feeling like a chore and becomes more of a craft. That shift in mindset is what separates an okay result from an impeccable one.
Having these tools ready to go lets you focus entirely on the task at hand: getting those measurements just right. Of course, the hardware you choose for installation is just as important as the blinds themselves. If you want to make a smart choice, it's worth reading up on the latest drapery hardware trends making a statement with style. Now that your toolkit is all set, you’re ready to capture the exact dimensions for a perfect, custom fit.
Measuring For An Inside Mount For A Sleek Look
An inside mount is all about creating that clean, built-in look. The blind fits neatly right inside the window frame, giving you a minimalist aesthetic that really showcases beautiful window casings. It’s a popular choice for a reason, but this sophisticated style hinges on getting your measurements absolutely perfect. There’s simply no wiggle room.
When you’re ready to start, grab your steel tape measure and tackle the width first. You’ll need to measure the inside of the window frame at three spots: once across the top, again in the middle, and a final time along the bottom. You might be surprised to find the numbers aren't identical—older homes, especially, are rarely perfectly square. Always, always write down the narrowest of the three measurements. Taking the widest number is a classic mistake that will leave you with a blind that’s too big to fit.
Capturing Height And Depth Dimensions
Next, you’ll do the exact same thing for the height. Measure the opening from the top of the frame down to the sill on the far left, in the center, and on the far right. Just like before, you need to record the shortest of these three dimensions. This guarantees the blind can hang freely without bunching up or scraping against an uneven window sill. Getting this right is also key for other treatments; for example, learning how to measure for Roman shades follows the same critical logic.
The last piece of the puzzle for an inside mount is the window’s depth. You need to measure from the front edge of the window casing straight back to the glass (or any other obstruction, like a handle). This measurement tells you if the blind's headrail will sit flush within the frame or stick out into the room, which is crucial for achieving that seamless, integrated appearance.
One question we get all the time is, "Do I need to subtract anything from my measurements for clearance?" The answer is no, you don't. Just give us the exact, tight numbers. Our fabricators will make a tiny, precise deduction—usually about 1/4 inch—to ensure the finished blind operates smoothly without rubbing against the window frame.
Before you put your tape measure away, take one last, careful look at the window frame. You're searching for any little thing that could get in the way of the blind’s movement.
- Window Cranks: Where are they located? Note how far they stick out.
- Locks And Latches: Make sure the blind will clear them when it’s all the way down.
- Alarm Sensors: Check that neither the headrail nor the bottom rail will bump into or damage them.
Spotting these potential hang-ups now can save you a major headache on installation day. It allows us to make smart adjustments ahead of time, ensuring a flawless fit for your beautiful new window treatments.
Mastering The Outside Mount For Maximum Impact
Sometimes, a sleek inside mount just isn't the right fit for a window. When that's the case, an outside mount offers a powerful and often more dramatic alternative. This technique, where the blind is installed on the wall or trim above the window frame, is a designer’s secret for creating a much grander sense of scale. It’s the perfect fix for several common design challenges.
An outside mount can completely hide a less-than-perfect or dated window frame, instantly elevating the room’s entire look. It’s also the go-to choice for maximizing light blockage, since the overlapping material covers the light gaps that can sometimes peek through the edges of an inside-mounted blind. This makes it a no-brainer for bedrooms, media rooms, or any space where light control is a top priority.
Defining Your Overlap For Optimal Coverage
The real magic of a successful outside mount is in the overlap—how far the blind extends beyond the window opening. This is where you have total creative control over the final look and function. A wider overlap creates the illusion of a much larger, more significant window, adding architectural presence to the space.
As a best practice for both style and performance, we recommend adding a minimum of 2 to 4 inches of overlap to each side, as well as to the top and bottom of the window opening.
- Side Overlap: This ensures total privacy and stops that annoying sliver of light from seeping in around the edges.
- Top Overlap: Adding extra height above the frame naturally draws the eye upward, making ceilings feel taller than they are.
- Bottom Overlap: Extending the blind below the sill guarantees complete coverage, especially if your sill isn't perfectly even.
This approach is also essential when you’re thinking about treatments for covered outdoor living spaces. For outdoor drapery on a lanai or patio, a generous outside mount provides far better protection from sun, wind, and rain, effectively extending your usable living area.
Calculating Your Final Dimensions
To get the final numbers for an outside mount, start by measuring the full width and height of your window opening. Be sure to include the trim if you plan to cover it completely.
Once you have these base measurements, just add your desired overlap amount. For example, if your window opening is 40 inches wide and you want a 3-inch overlap on each side, your final blind width will be 46 inches (40 + 3 + 3).
Precision here does more than guarantee a beautiful result—it also impacts your home's efficiency. In the thriving blinds market, accurate measuring is what unlocks significant energy savings. The U.S. Department of Energy has shown that perfectly fitted blinds can reduce cooling costs by up to 28%. You can discover more insights about the growing window blinds market and its connection to energy efficiency.
Learning how to measure for an outside mount is about more than just numbers; it’s about making a deliberate design choice. By carefully planning your overlap, you can transform a simple window into a stunning focal point that enhances both the beauty and comfort of your home.
Navigating Specialty Windows And Architectural Challenges
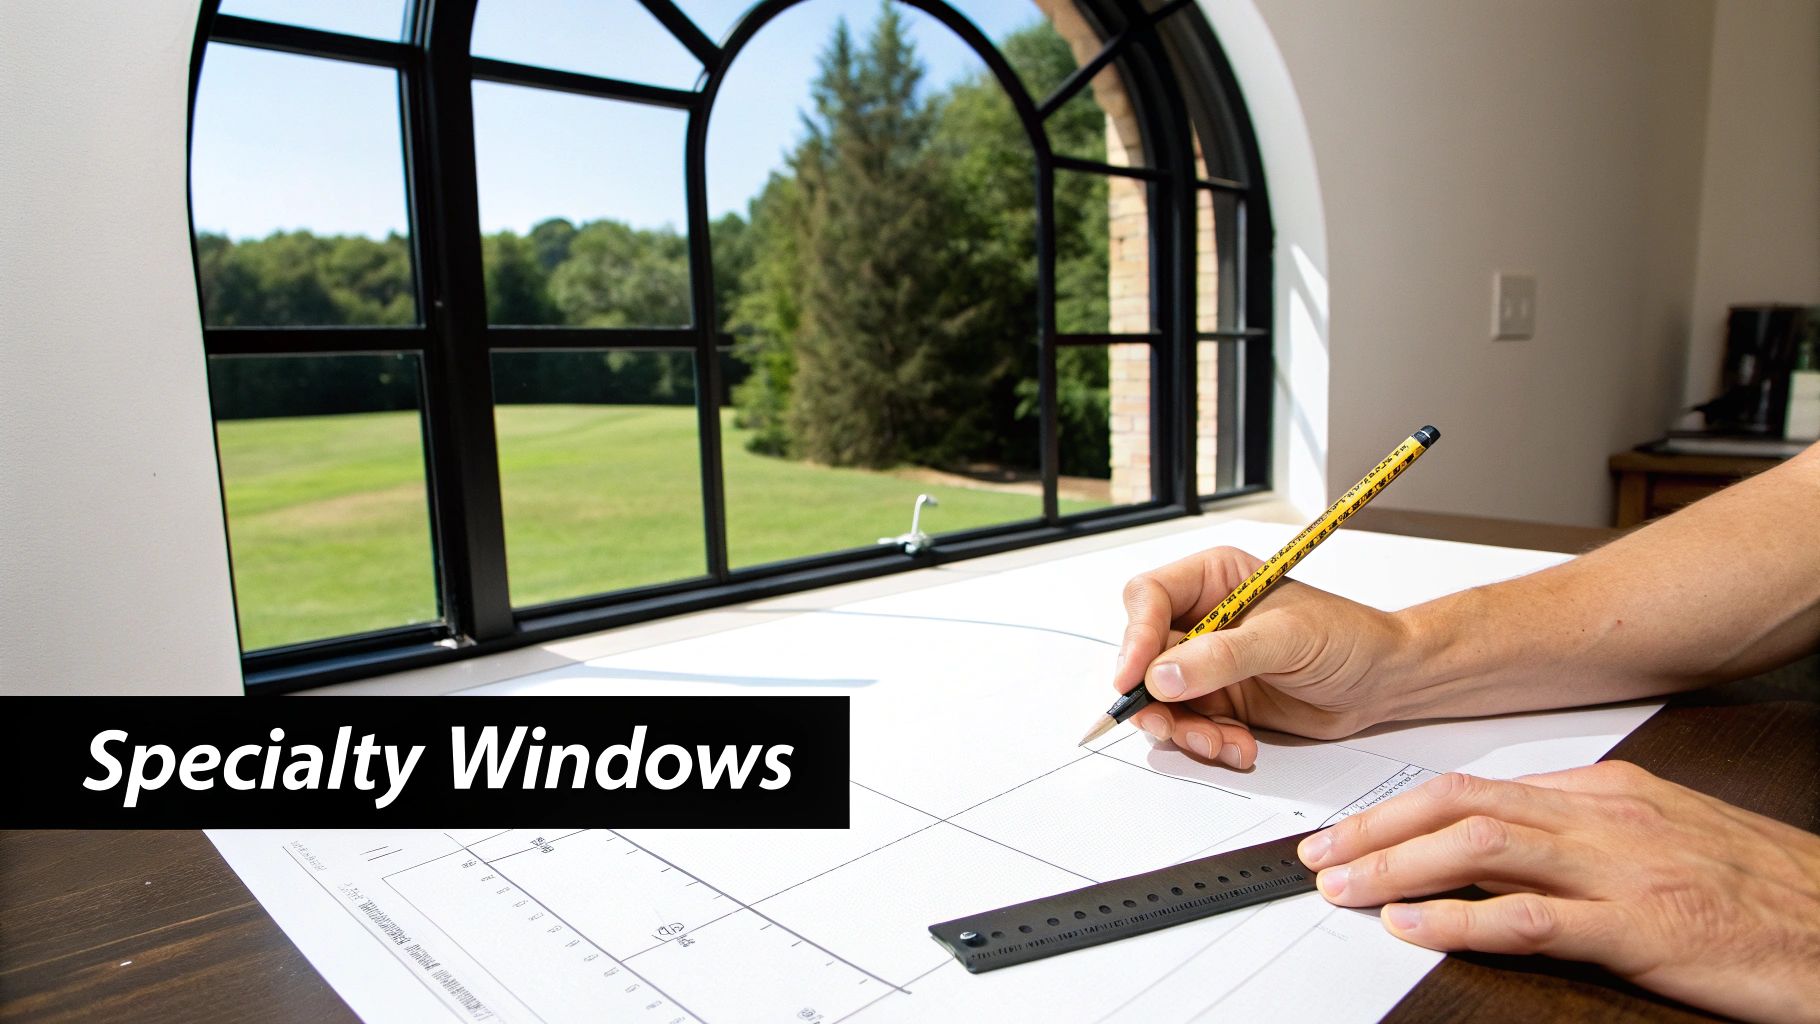
Beautiful homes rarely stick to simple squares and rectangles. From sweeping bay windows to graceful arches, these unique designs add tons of character but require a much more thoughtful approach when you're measuring for blinds. This is where precision work turns a potential headache into a stunning custom feature.
For a classic bay window, the trick is to treat each pane of glass as its own individual window, while never forgetting about the angles where they meet. Measure the width and height of each section on its own. It’s those angles that get tricky; you have to make absolutely sure the headrails meet perfectly and that the blinds can operate without crashing into each other.
Addressing Arches And Curves
Arched windows are gorgeous, but they can be the most complex to measure. To get it right, start by finding the full width at the widest point of the base. After that, you'll need to map the curve itself. The best way to do this is by measuring the height from the base to the top of the arch at several specific points, which gives the fabricator a detailed template to work from.
A common method for arches is to measure the widest horizontal point, then drop vertical lines at the one-third and two-thirds marks across that width. Record the height at these specific points. Remember to subtract a minimal 1/8 inch from each side to ensure the final product has a clean, tension-free fit. Don't underestimate small gaps; a space over 1/4 inch can let in 15-20% more heat, a huge factor in our warm climate.
A non-square frame or an uneven sill isn’t a flaw to hide—it’s a unique characteristic of your home. A truly custom window treatment honors these details, turning architectural quirks into a perfectly integrated part of the final design.
Solutions For Doors And Corner Windows
French doors and sliding glass doors come with their own set of challenges. For French doors, the main obstacle is almost always the door handles. Your blinds must have a shallow enough depth to clear the hardware when the door is opened and closed. This is where experience really pays off, helping you find solutions that are both beautiful and completely functional. For larger openings, our guide on solar shades for sliding glass doors is a great resource.
Corner windows need a similar approach to bay windows, demanding careful attention to where the two treatments will meet. You’ll have to decide if you want the blinds to butt up against each other or overlap just slightly. This decision directly impacts the exact measurements and deductions needed to create that clean corner finish.
No matter the type of specialty window, the goal is always the same: to provide a precise blueprint that allows a fabricator to create a window treatment that looks like it was always meant to be there, seamlessly following every line and curve of your home’s architecture.
When To Trust A Professional For A Perfect Result
While tackling window measurements yourself can work well for many standard windows, some projects really demand the precision that only a seasoned professional can bring to the table. Knowing when to call in an expert isn't giving up; it's a smart move to guarantee a flawless, stress-free result for your home or commercial property.
Think about the scale of your project. If you're outfitting an entire house or a commercial space, getting that perfect alignment and consistent look is everything. A professional ensures every single blind hangs at the exact same height, creating a clean, uniform appearance from both inside and out. Honestly, that level of precision is nearly impossible to get right without specialized tools and years of experience.
When Expertise Is Non-Negotiable
Certain architectural features and advanced tech are clear signs that a professional measurement is your best bet. These are the situations where a tiny miscalculation can snowball into a significant—and costly—headache.
An expert touch is essential for:
- Complex Architectural Features: Bay windows, corner windows, and those gorgeous arched windows require intricate calculations. You need to make sure the blinds can operate smoothly without bumping into each other and that they fit every unique curve perfectly.
- Motorized Shades and Smart Home Integration: Integrating technology is a specialized skill. It's not just about the blind fitting the window; a pro plans for all the wiring, motors, and smart home connections to ensure they're executed flawlessly from the start.
- Large-Scale or Commercial Projects: For hotels, offices, or large residential installations, consistency and durability are non-negotiable. Experts know how to account for high-traffic wear and tear and ensure every treatment meets rigorous commercial standards.
An expert measurement from The Drapery Company is more than just taking down numbers. With our decades of experience, we anticipate challenges before they become problems—from uneven sills to hidden obstructions—ensuring your measurements translate directly into stunning, perfectly fabricated window treatments. Every. Single. Time.
Ultimately, opting for a professional service is about buying peace of mind. To dig deeper into this, you can learn more about why professional measurements for window treatments are a worthwhile investment in our detailed guide. It’s the surest way to protect your investment and get that impeccable finish your space deserves.
Got Questions About Measuring Blinds?
Even with the best guide in hand, a few questions always seem to pop up right when you’re holding the tape measure. It's completely normal. Here are some quick answers to the common hang-ups we hear about, so you can lock in your numbers with confidence.
How Should I Round My Measurements?
When it comes to custom window treatments, precision is everything. You'll want to measure to the nearest 1/8 inch.
It can be tempting to round up or down to a cleaner number like a half or whole inch, but trust us on this one—even a tiny discrepancy can throw off the entire fit and function of your new blinds.
What If My Windows Are Different Sizes In The Same Room?
This is incredibly common, especially in older homes. Windows that look identical to the naked eye can have slight, but critical, variations. You absolutely have to measure each one individually.
Assuming two windows are the same size is one of the most frequent and costly mistakes we see. Don’t fall into that trap.
The golden rule of window measurement is simple but non-negotiable: measure every single window, every single time. Re-measuring is always a wiser investment than re-ordering.
Should I Measure For The Blinds Or The Window Itself?
Great question. You should always measure the exact space the blind will occupy.
For an inside mount, that means you’re measuring the interior of the window frame itself—top to bottom, side to side. For an outside mount, you’re measuring the area on the wall or trim you want to cover, which will naturally be larger than the window opening. Getting this distinction right is the key to a perfect result.
For a truly flawless outcome, you can always trust the experts at The Drapery Company to handle every last detail. Schedule your professional measurement consultation today.


