

How To Hang Curtains On Arched Windows A Definitive Guide
January 21, 2026
Roman Shades Vs Cellular Shades A Complete Style and Efficiency Guide
January 23, 2026
Getting the measurements right for your Roman shades is the single most important step to achieving that flawless, custom-tailored look. Long before you even think about fabrics or patterns, a precise measurement sets the stage for everything that follows. It's the difference between a shade that hangs perfectly and one that just looks… off.
This isn’t about generic instructions. We're going to walk through the exact techniques our professional installers use every single day. We'll cover the essential tools, break down the critical choice between an inside and outside mount, and give you a clear path to deciding what's best for your home or commercial property. Whether you want a clean, built-in look or a bold, dramatic statement, it all starts here.
Choosing Your Mounting Style
First things first: you need to decide whether you want an inside mount or an outside mount. This decision is huge. It completely changes how you'll measure and has a major impact on the final look and feel of your window treatment.
Inside Mount: This is when the Roman shade fits perfectly inside the window frame. It creates a super clean, minimalist look and is perfect for showing off beautiful, decorative window trim. The catch? You need enough depth in your window frame, and your measurements have to be dead-on accurate. There's no room for error here.
Outside Mount: With this style, the shade is mounted on the wall or trim above the window opening. It's a fantastic, versatile solution if your window frames are too shallow, if you want to hide less-than-perfect trim, or if you're trying to make a small window feel much larger. This mount is also the champion of light blockage, as it covers the entire window frame.
Here's the bottom line: An inside mount celebrates your window's existing architecture, while an outside mount can completely redefine it. Let your window's structure and your design goals guide your choice.
To help you visualize the best fit for your space, here's a quick breakdown of how the two styles compare.
Inside Mount Vs Outside Mount At A Glance
Inside Mount:
- Best For: Showcasing beautiful window trim and creating a clean, built-in look.
- Window Depth: Requires a minimum depth for the headrail to fit securely within the frame.
- Light Control: Allows for small light gaps on the sides.
- Measurement: Requires precise width measurements at three points (top, middle, bottom).
- Look & Feel: Minimalist, clean, and integrated.
Outside Mount:
- Best For: Hiding imperfect frames, creating the illusion of a larger window, and maximizing light blockage.
- Window Depth: No depth requirement; mounts on the wall or trim above the window.
- Light Control: Offers superior light control by overlapping the window opening entirely.
- Measurement: More forgiving; you measure the area you want to cover, adding extra inches.
- Look & Feel: Dramatic, traditional, and can add visual height to a room.
Ultimately, choosing between these two mounts is a matter of both practicality and personal style. Consider your window's physical limitations and the aesthetic you're aiming for to make the perfect choice.
The type of shade you select can also influence this decision. For instance, the stacking height and fabric choice between different styles can play a role. You can learn more in our detailed guide comparing Roman shades vs. roller shades.
Getting this foundational step right is non-negotiable, especially since the residential sector makes up a massive 66.70% of the entire blinds and shades market. It’s a detail homeowners are clearly focused on. Taking a few extra minutes to measure correctly ensures your investment looks incredible and functions perfectly for years to come.
Mastering The Inside Mount For A Tailored Look
An inside mount gives you that clean, built-in look, tucking the Roman shade right inside the window's frame. It’s the perfect choice when you want to show off beautiful window trim and create a seamless, high-end feel. But getting it right comes down to one thing: precision.
The very first thing to check is your window depth. Before you measure anything else, grab your steel tape measure and check the depth of the window casing—that's the flat surface inside the frame where the shade’s headrail will sit. A standard Roman shade usually needs at least 1.5 inches of depth to sit flush. If you're looking at more decorative styles or a motorized system, you might need as much as 3 to 4 inches. This simple check saves a ton of headaches later and tells you if an inside mount is even possible.
The Professional Rule Of Three
Here’s a little secret from the pros: window frames are almost never perfectly square. It's a subtle imperfection, but one that can completely throw off a custom project if you don't account for it. To get around this, we use the "rule of three," a simple method that ensures your Roman shade will fit like a glove.
First, let's tackle the width. Using that steel tape measure, measure the inside width of the frame in three different spots:
- Across the very top
- Across the middle
- Across the bottom
Jot down all three numbers, measuring to the nearest 1/8th of an inch. You'll probably notice they're all slightly different. Of these three measurements, you must use the narrowest one. This is the golden rule for an inside mount width. It guarantees the shade can glide up and down without scraping or getting stuck on the sides.
A classic mistake is averaging the numbers or, even worse, using the widest one. This always leads to a shade that's too wide to function. Always, always default to the smallest width measurement for a smooth fit.
Next, you’ll do the same thing for the height. Measure the inside height of the window frame from the top down to the sill in three places:
- Along the left side
- Right down the middle
- Along the right side
Again, write each one down to the nearest 1/8th of an inch. For the height, however, you're going to use the longest of the three measurements. This makes sure the shade is long enough to cover the entire window opening, even if one side is a tiny bit taller than the other.
This simple infographic breaks down the core process into three fundamental actions for any window treatment project.
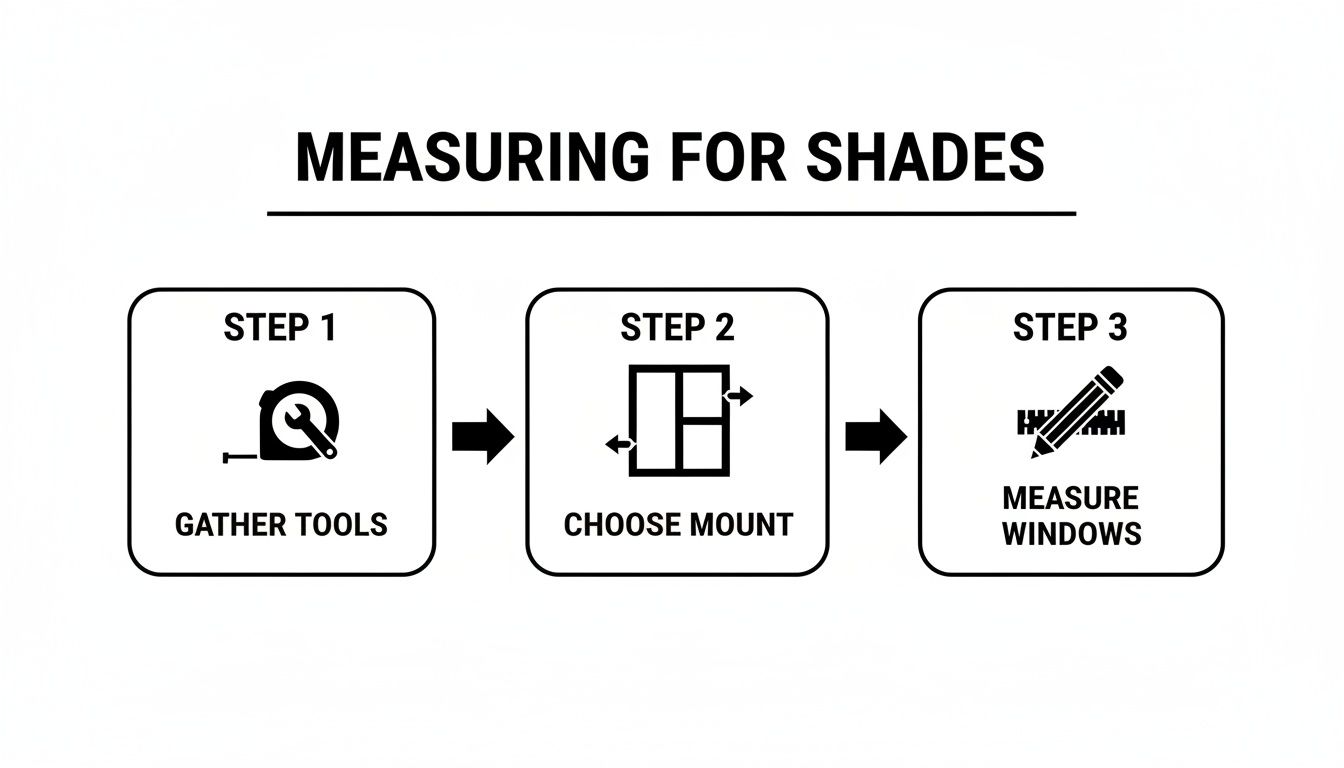
As you can see, the physical act of measuring is just one part of a thoughtful process that starts with good preparation and a clear decision on your mounting style.
Understanding Workroom Deductions
Once you’ve sent us your precise measurements—the narrowest width and the longest height—our work begins. It’s important to know that we don't actually make the shade to your exact width measurement. We make a small, calculated deduction in the workroom.
Typically, we subtract between 1/4 inch and 1/2 inch from the width you gave us. This isn't a mistake; it's intentional and absolutely critical. This tiny adjustment creates the clearance the shade needs to operate without the fabric rubbing against the window casing. It’s one of the hallmarks of true custom fabrication and what sets a professionally made Roman shade apart from something off the shelf.
You should never try to make these deductions yourself. Just give us the exact measurements you took, and let the workroom apply its time-tested formula. This ensures a perfect balance between maximum window coverage and flawless, smooth function every single time.
Executing The Outside Mount For Drama And Light Control
Sometimes, an inside mount just isn't in the cards. Maybe your window frames are too shallow, or you simply prefer a bolder look. This is where an outside mount becomes your best friend, offering a powerful and versatile alternative. It's the perfect solution for hiding less-than-perfect trim, making a window feel much larger than it is, and delivering superior light control by getting rid of those pesky light gaps you often see with inside mounts.
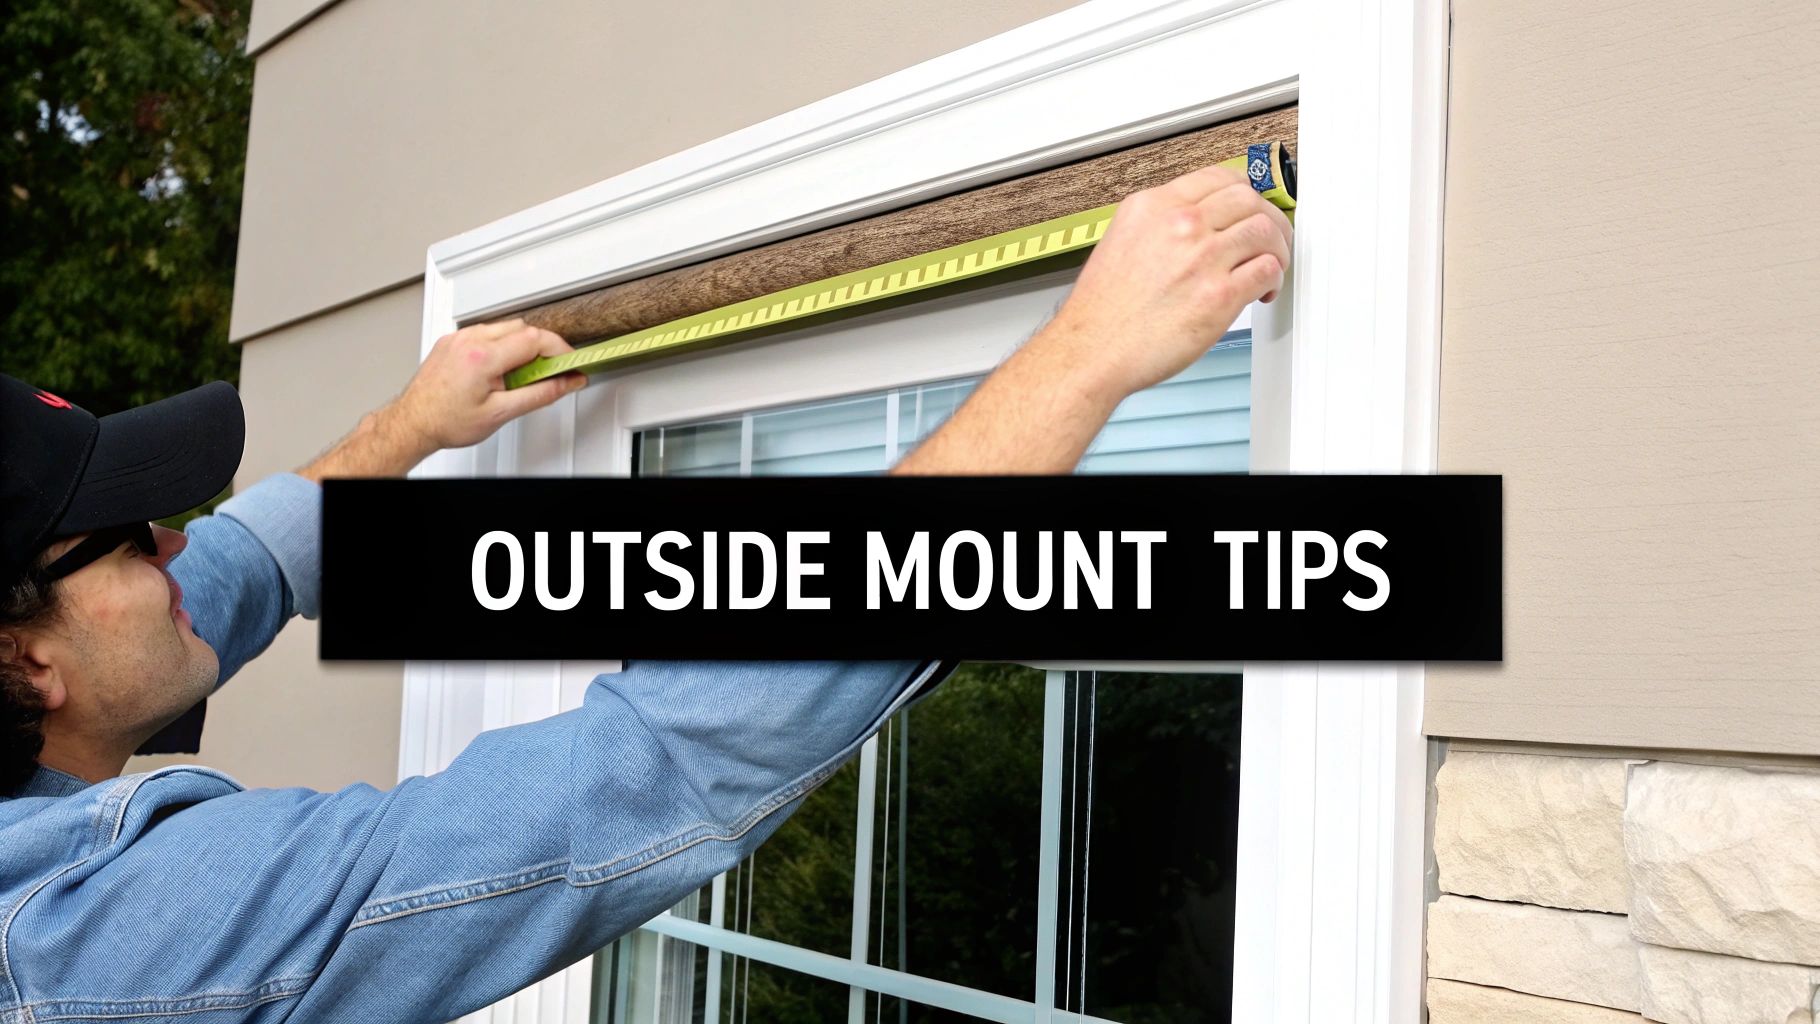
With an outside mount, the Roman shade is installed on the wall or trim above the window, letting it overlap the opening on every side. This technique not only maximizes privacy but also adds a real sense of drama and height to a room, drawing the eye upward and making the whole space feel more expansive and elegant. The secret to getting it right is all in the placement and overlap.
Determining The Ideal Width And Overlap
For the width, your goal is to create a balanced overlap that guarantees full coverage and looks intentional, not like an afterthought. Start by measuring the exact width of your window opening—and be sure to include the trim if you plan on covering it up.
From there, we recommend adding a minimum of two to three inches to each side.
- Real-World Example: Let's say your window, trim and all, measures 40 inches wide. For a standard look, you'd add 2 inches per side (4 inches total), bringing your final shade width to 44 inches. Want a more substantial, high-end feel? Adding 3 inches per side (6 inches total) for a 46-inch shade is a common choice we make in professional installations.
This overlap is absolutely critical for blocking light effectively and giving the shade a solid visual anchor. If you skimp on the overlap, you'll get light bleeding in from the sides, which defeats one of the main reasons for choosing an outside mount in the first place. This concept isn't unique to Roman shades; proper coverage and overlap are just as important for other styles, which you can see in our guide to rolling shades for sliding glass doors.
Calculating The Perfect Height
The height measurement is where you can really play with the room's perceived scale. To get your final height, you need to decide two things: how far above the window frame you'll mount the headrail, and how far down you want the shade to hang.
For that high-end, designer effect, mount the headrail at least four to six inches above the top of the window frame. This placement visually "lifts" the ceiling, making both the window and the entire room feel taller and more grand.
Once you’ve picked your top mounting spot, measure down to where you want the shade to end. For a clean, finished look, we suggest extending the shade at least one to two inches below the bottom of the window sill or trim. This makes sure no part of the frame peeks out when the shade is fully lowered.
Your final height is simply the distance from your chosen mounting point above the frame to your desired endpoint below the sill.
The Influence Of Fabric And Pattern
Don't forget that your fabric choice has a big say in these decisions. A bold, large-scale pattern, for instance, might need a wider overlap to make sure the design is centered properly and isn't awkwardly chopped off at the edges. A wider shade gives that beautiful pattern a better canvas to shine.
It's a similar story with heavier fabrics like velvet or thick linen blends, which have more physical presence. Giving them a generous overlap and mounting them higher creates a sense of grandeur that perfectly complements their weight and texture. While a slightly smaller overlap might work for sheer or lightweight fabrics, the trick of mounting the shade well above the frame remains a powerful design tool for adding visual height. When you thoughtfully consider these details, your outside mount will deliver both flawless function and show-stopping style.
Measuring For Specialty Windows And Outdoor Spaces
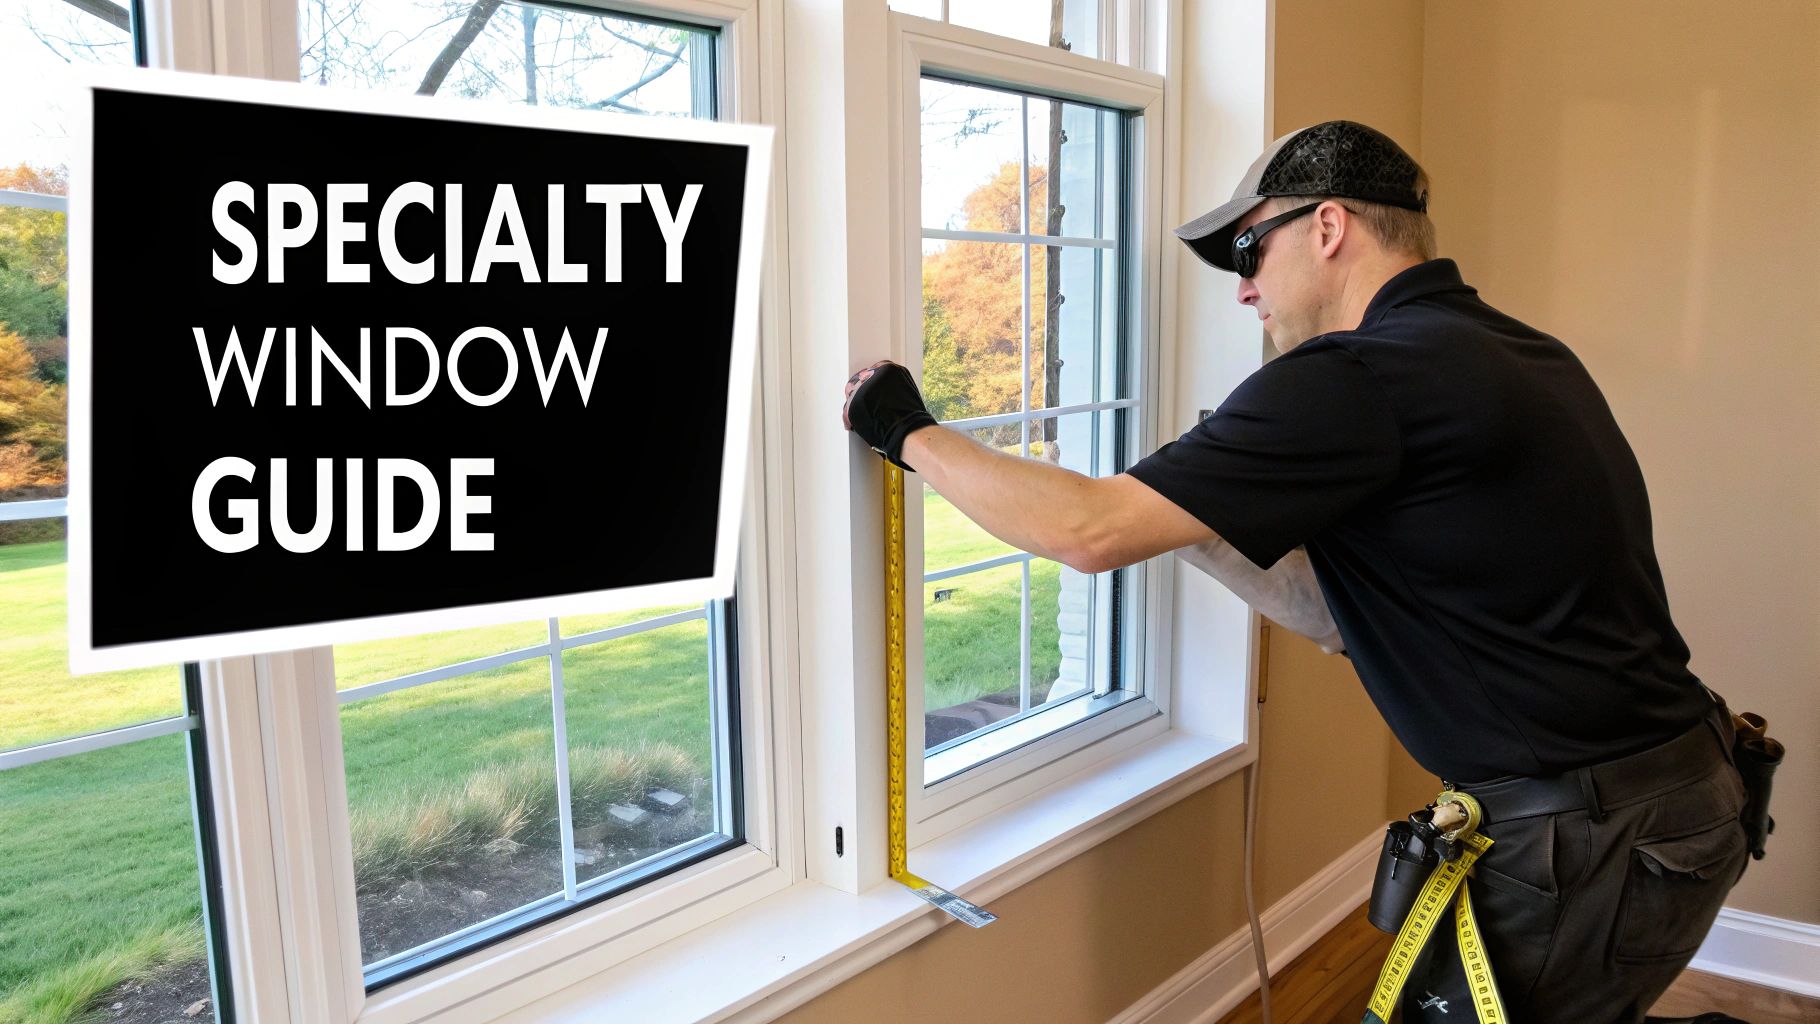
While most homes have standard rectangular windows, you’ll often find unique architectural features in high-end residential and commercial properties. These elements, from French doors to sprawling bay windows, demand a much more careful and nuanced approach to measuring. It's not just about covering glass; it's about creating a functional, custom fit that complements the architecture.
This push for elevated, beautiful home solutions is why the window treatment market continues to expand. The global Roman shades market alone was valued at roughly $2.5 billion in 2023 and is expected to hit $4.3 billion by 2032. It’s clear that homeowners are invested in getting these classic, versatile treatments right, especially for their most challenging windows.
Navigating French Doors And Shallow Mounts
French doors are a classic design feature, but they present a common headache: finding a shade that works without getting in the way of the handle. The solution almost always involves a shallow-depth mounting. A standard Roman shade headrail is often too deep, and you'll find the handle bangs against it every time you open the door.
For French doors, you'll be using an outside mount installed directly onto the door itself. Here’s where precision becomes critical.
- Measure Width: Start with the width of the glass, then add a small overlap on each side—usually 1 to 1.5 inches. This gives you light control without making the shade look bulky or out of place.
- Measure Height: Do the same for the height, adding a 1 to 1.5-inch overlap at both the top and bottom for a balanced look.
- Check Handle Clearance: This is the most important step. Measure from the face of the door out to the furthest point of the handle. This number is the maximum depth your Roman shade can be. You’ll need to order a shallow-mount headrail made specifically for this situation.
A pro tip for French doors: Always request "hold-down brackets." These small, discrete brackets attach the bottom rail of the shade to the door, stopping it from swinging and clattering every time you open or close it. It's a small detail that makes a huge difference.
Perfecting Bay And Corner Windows
Bay and corner windows offer incredible panoramic views, but they are notoriously tricky to measure. The goal is a seamless look where the shades meet perfectly in the corners, without big, awkward gaps or clumsy overlaps. Honestly, for these complex jobs, we always recommend calling in a professional.
The main challenge is accounting for how the headrails will butt up against each other in the corners. You can't just measure each window section on its own and call it a day. The depth of the headrails has to be subtracted from the width measurements of the adjacent shades so they can fit together like puzzle pieces.
A professional installer will often create a template or use specific formulas to factor in the angles of the bay. This ensures each shade is made to the exact width needed for that clean, uninterrupted flow. It helps you avoid the common DIY mistake of ordering shades that are too wide and end up bunching up and looking messy in the corners. While we're talking Roman shades, these same principles apply to other treatments, like those in our guide on how to hang curtains on arched windows.
Extending Luxury To Outdoor Drapery
The elegance of custom drapery is no longer just for the indoors. Outdoor living spaces like patios, lanais, and pergolas are now being treated as luxurious extensions of the home or commercial property, complete with their own custom window treatments. Measuring for these applications brings a whole new set of rules focused on durability and standing up to the elements.
When you're planning for outdoor drapery, you need to think differently:
- Mounting Surface: First, figure out what you're mounting to. Is it a wooden beam, a metal pergola frame, or a concrete wall? This will determine the kind of heavy-duty, weather-resistant hardware you'll need.
- Clearances: Unlike inside, outdoor treatments need some breathing room. Measure from your mounting point down, but stop 2 to 3 inches above the ground. This simple gap keeps the fabric from wicking up moisture, mildewing, or becoming a trip hazard.
- Material Performance: The fabric choice is non-negotiable. It has to be a solution-dyed acrylic or another textile engineered to resist UV fading, moisture, and mildew. High-performance fabrics ensure your investment looks great for years, not just one season.
- Hardware Selection: Every piece of hardware, from the rods down to the grommets, must be stainless steel or another corrosion-resistant material. This is crucial for preventing rust and staining, which can ruin both the hardware and the fabric over time.
Advanced Considerations For A Truly Custom Result
Getting the basic width and height right is just the start. The real magic of custom Roman shades comes from sweating the small stuff—the details that professional designers obsess over to take a window treatment from just "good" to truly exceptional. These are the considerations that turn a simple shade into an integrated part of your home's architecture.
One of the most important factors here is stacking height. This is simply the amount of space the shade takes up at the top of the window when it's pulled all the way up. The fabric folds up into a neat "stack," and you have to plan for it.
Get this wrong, and you could end up with a stack that blocks a good chunk of your window even when the shade is open. This instantly makes the window feel smaller and the room darker. The goal is to make sure the stack clears the glass completely, which often means mounting an outside-mount shade a bit higher above the window frame than you might first think.
How Fabric And Fold Style Impact Stacking Height
Stacking height isn't a fixed number; it's a direct result of the fabric you choose and the fold style you love. A heavier material—think thick linen, velvet, or a lined wool—is naturally going to create a bulkier, taller stack than a lightweight cotton or a breezy sheer.
The fold style also plays a huge part in how much space the shade needs when it's raised.
- Flat Fold: This is your classic, clean style. It creates the slimmest stack because the fabric panels lie flat against each other. It's the perfect choice when you want to preserve every last inch of a beautiful view.
- Teardrop or Hobbled Fold: A more traditional look, this style has soft, cascading loops of fabric that are visible even when the shade is down. Because it has all that built-in volume, it creates a much taller and more substantial stack when you pull it up.
Think about how these two elements work together. For a grand window in a room with high ceilings, the larger stack from a hobbled fold can add a gorgeous decorative touch. But for a smaller window or one with a killer view, a flat fold is the way to go to maximize light and scenery.
Planning For Motorization And Smart Home Integration
Modern luxury is all about seamless technology, and motorized Roman shades are a perfect example. Measuring for them requires an extra layer of planning to make sure the internal mechanics are hidden away perfectly. The motor is tucked inside the headrail, which often makes the headrail itself a bit deeper and taller than a manual one.
For an inside mount, you have to be sure you have enough depth. For an outside mount, you need enough clearance. You also have to think about power. Are you going with a battery wand or a hardwired solution? You need to know where it's going during the measurement phase to get that clean, wire-free finish.
This kind of forward-thinking is key in a market that's only getting bigger. The global blinds and shades market hit $14.82 billion in 2024 and is expected to jump to $24.63 billion by 2030, mostly thanks to homeowners wanting smart home automation. You can learn more about the growth in the window treatment market and see how tech is shaping what's popular. Planning for motorization from day one makes sure your investment is ready for the future.
Protocols For Commercial Applications
Measuring for commercial spaces like hotels, offices, or country clubs is a whole different ballgame. The focus shifts to things like durability, consistency, and building code compliance. When you're dealing with a project that has dozens, or even hundreds, of windows, uniformity is everything.
Every measurement has to be dead-on so that every single shade hangs at the exact same height. This creates that clean, uniform look from both inside the building and out. We also have to account for things like fire-retardant fabric requirements and child-safety rules for any cords, which are non-negotiable in public spaces.
Durability is another huge priority, since treatments in commercial settings get way more wear and tear than they would in a house. These same ideas of durability and function apply to other large openings, which we cover in our guide to solar shades for sliding glass doors. By thinking through these advanced details, the final result is a solution that’s not just beautiful, but also functional, safe, and built to last.
Common Questions About Measuring For Roman Shades
Even with the best guide in hand, you’re bound to have a few questions when you start measuring for custom Roman shades. It's completely normal. These are the questions we hear all the time from our clients, both residential and commercial, and our answers should give you that last bit of confidence you need to get it right.
What's The Most Common Mistake Homeowners Make When Measuring?
The number one mistake we see, hands down, is people using a soft, cloth measuring tape. It seems harmless, but those tapes can stretch, sag, and bend, throwing off your numbers. A tiny discrepancy of just 1/4 inch can be the difference between a shade that fits perfectly and one that scrapes the frame or looks sloppy.
Another classic error is only measuring in one spot. Window frames are almost never perfectly square, and walls can have slight bows you’d never notice otherwise. That’s why we always measure the width and height in three places—top, middle, and bottom. It’s a non-negotiable step for a professional finish.
How Much Depth Do I Need For An Inside Mount Roman Shade?
This really depends on the specific shade you’ve chosen. The style and the hardware make all the difference. For a simple, flat-fold Roman shade, you might only need about 1.5 inches of depth to get a clean, flush fit inside the window frame.
But when you get into more detailed styles or add motorization, you’ll need more room:
- Decorative Folds: Styles with more body, like a teardrop or hobbled fold, have more fabric to account for and can require up to 3 inches of depth.
- Motorized Shades: The headrail that houses the motor is bulkier, sometimes needing as much as 4 inches of clearance to be installed properly.
Always check the product specs for the exact shade you want. If your window frame is too shallow for an inside mount, don't worry—an outside mount is a fantastic alternative that looks just as beautiful.
Always check the product specifications before committing to an inside mount. Assuming you have enough depth without measuring is a common and costly mistake that can derail your project.
Should I Round My Measurements Up Or Down?
Precision is everything here. Always write down your measurements to the nearest 1/8th of an inch.
For an inside mount, you should never round up. Just give us the smallest of the three width measurements you took. Our workroom will then make the small, precise deductions (usually about 1/4 to 1/2 inch) needed to make sure the shade operates smoothly without touching the sides of the frame.
For an outside mount, you have a bit more wiggle room because you're adding overlap. Still, you want a balanced, symmetrical look. We typically recommend adding a consistent amount, like 3 inches to each side, to get that polished, intentional design.
When Should I Absolutely Call A Professional To Measure?
While this guide gives you the tools to handle most standard windows, some situations really do call for an expert. If you’re aiming for absolute perfection, a professional measure is always a smart investment.
We strongly suggest calling in a pro for:
- Massive, tall, or hard-to-reach windows.
- Tricky architectural features like bay windows, bow windows, or corner windows.
- Any project involving motorization, so the electrical needs can be planned correctly.
- Large commercial projects where every shade needs to be perfectly uniform.
A professional can spot subtle quirks in your walls or window frames, ensure heavy treatments are properly supported, and ultimately guarantee a flawless result. If you're on the fence, it's worth learning more about when you should have your windows and doors professionally measured. It’s the best way to protect your investment and get total peace of mind.


