

How To Put Curtains On Arched Windows A Complete Guide
February 16, 2026
What Are Cordless Blinds: A Safe, Sleek Window Solution
February 18, 2026
Getting your Roman shades measured correctly boils down to a few critical steps. First, you'll need to decide between an inside or outside mount. Then, using a steel tape measure, you'll take the width and height in three different spots. The most important part? Give those exact figures to your custom workroom. Never, ever deduct from your own measurements—that's our job. We handle the allowances to ensure a flawless fit.
Flawless Roman Shades Start With Precision
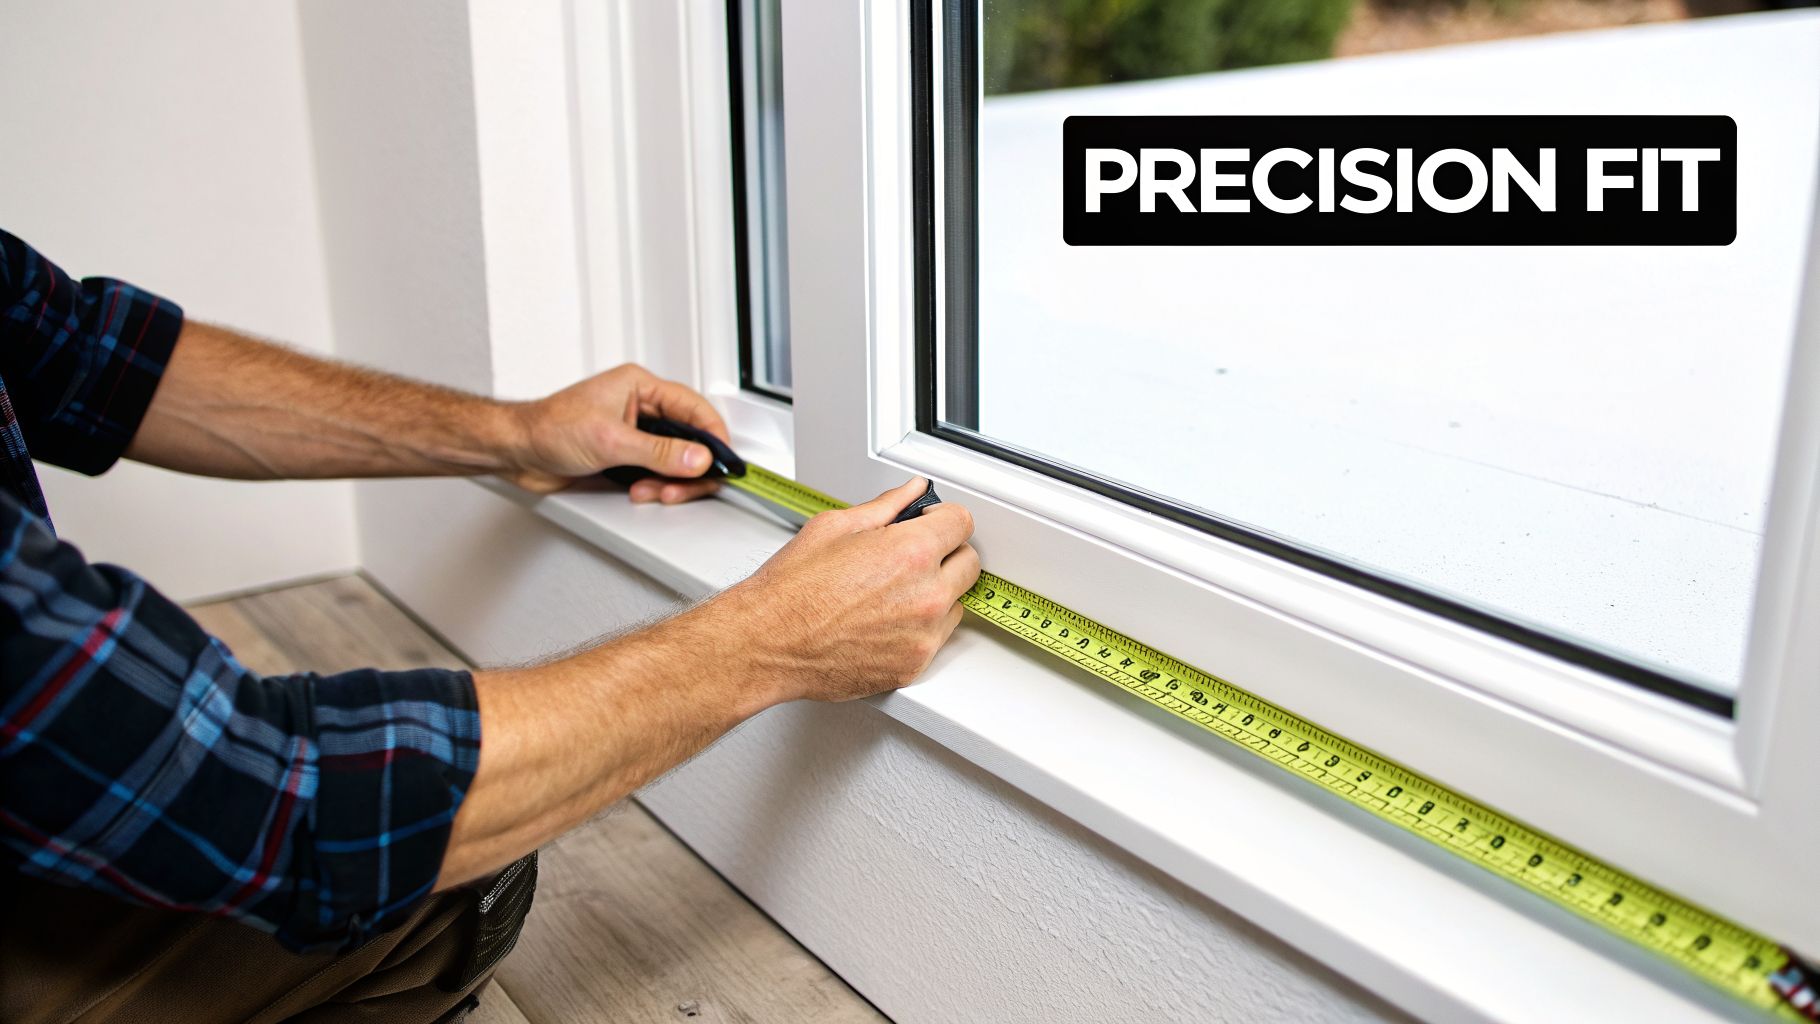
Roman shades bring a timeless, tailored elegance to any room, but that sophisticated look hinges on one crucial element: a perfect fit. This guide goes beyond the generic advice to show you exactly how the pros get it right every time.
For a truly high-end finish, precise, custom measurements are non-negotiable. It’s the only way to avoid the common pitfalls you see with off-the-shelf solutions. A custom fit impacts everything from light control and privacy to the overall aesthetic harmony of your room, whether it’s for a cozy home or a polished commercial property. If you're still deciding on the right look, you might want to explore four beautiful Roman shade styles that can completely change the feel of a space.
Understanding Mounting Styles
Before you even touch a tape measure, the very first decision is the mounting style. This one choice dictates not only how you'll measure but how the final treatment will hang and look in your space.
Inside Mount: The shade fits neatly inside the window casing, offering a clean, built-in appearance. This style is perfect when you want to show off attractive window molding and prefer a minimalist look. The key here is making sure you have enough depth within the frame to accommodate the hardware.
Outside Mount: With this option, the shade is installed on the wall or trim above the window opening. It's an incredibly versatile method used to make windows appear larger, conceal less-than-perfect frames, or for windows that simply don't have enough depth for an inside mount.
Getting the measurements right is the absolute foundation of a luxurious window treatment. A shade that’s off by even a quarter-inch can disrupt the clean lines and tailored look that make Roman shades so desirable in the first place.
This guide will give you the confidence to measure like a seasoned professional, ensuring your new window treatments look stunning and function perfectly. From residential living rooms to sophisticated outdoor drapery, precision is always the first step toward excellence.
The Essential Toolkit For Measuring Accurately
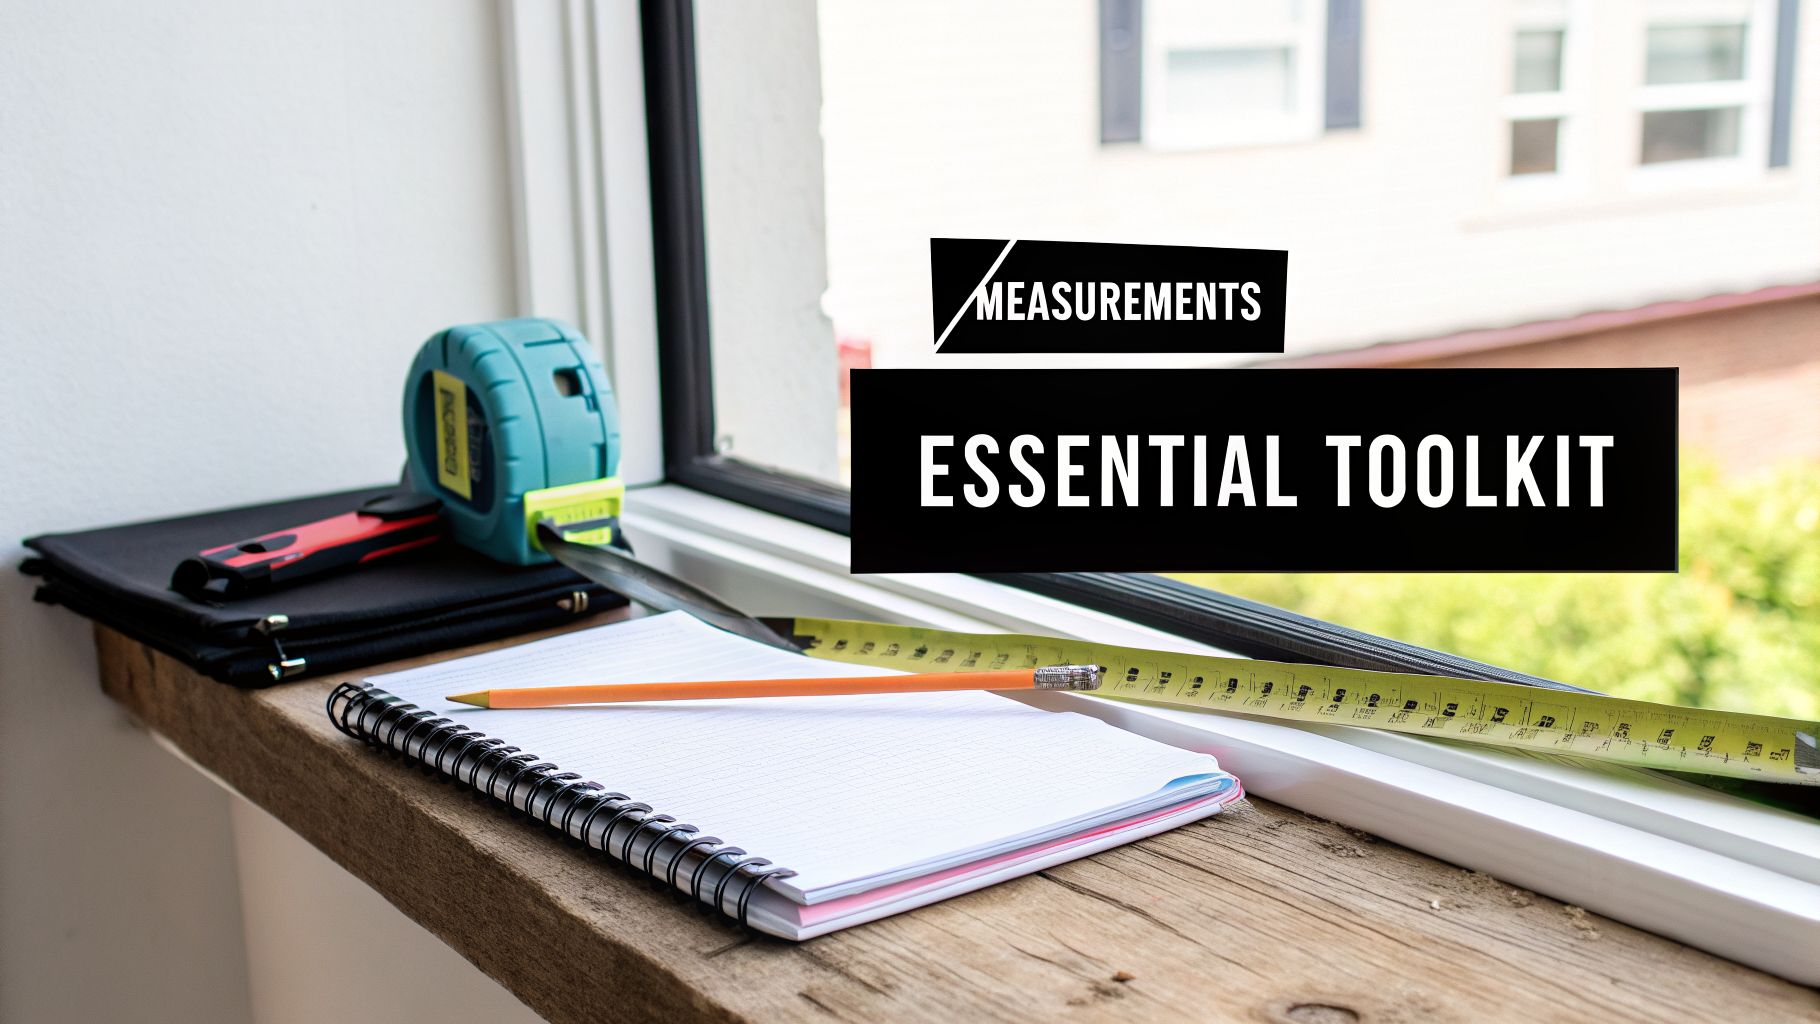
Before you even think about numbers, let's talk tools. Getting a professional-quality fit starts with having the right equipment on hand. The absolute most critical item in your kit is a good quality steel tape measure.
I can't stress this enough: never use a cloth or flexible tape. The kind you find in a sewing kit might seem okay, but it can stretch and throw off your measurements. That single detail can be the difference between a shade that fits perfectly and one that just looks… off. A metal tape gives you the rigid, consistent accuracy that custom window treatments demand.
Assembling Your Measurement Kit
Beyond the tape measure, a few other simple items will make the whole process go smoothly and safely. A little preparation now prevents silly mistakes and ensures you get every detail right the first time.
Here’s what your go-to toolkit should look like:
- A Steel Tape Measure: Grab one that’s at least 25 feet long. This will handle even the largest windows or patio doors without any trouble.
- A Sturdy Step Ladder: Your safety is paramount. A stable ladder is a must for reaching the top of tall window casings without any wobbling.
- A Notepad And Pencil: Old school, I know, but writing down your measurements is often easier than fumbling with a phone while you're balancing on a ladder.
Here's a pro-tip from our 30+ years in the business: always double-check your numbers. Then, clearly label each measurement with the window's location (e.g., 'Living Room – Left Window'). It’s a simple habit that has saved countless headaches and costly mix-ups.
This is especially true when you're measuring multiple windows that look identical. A few extra seconds of labeling can save you hours of frustration down the road. Once you're confident with your measuring skills, our guide on how to choose window shades can help you with the next steps.
How To Measure For An Inside Mount Roman Shade
An inside-mount Roman shade gives you that clean, minimalist look everyone loves. It sits neatly inside the window casing, creating a perfectly tailored, built-in appearance. It's the best way to show off beautiful window molding and keep your space feeling uncluttered.
But to get that flawless fit, your measurements have to be spot-on.
Finding The Perfect Width
First things first, grab your steel tape measure. You're going to measure the width inside the window frame, but you need to do it in three different spots: across the top, right in the middle, and then across the bottom.
It might seem like overkill, but windows—especially in older homes—are rarely perfectly square. Taking three measurements is the only way to be sure you get it right.
Once you have your three numbers, circle the narrowest one. This is the single most important number you'll record for the width. We need that tightest measurement to guarantee the shade can glide up and down smoothly without catching on the frame.
A classic mistake is to average the numbers or, even worse, use the widest one. That will get you a shade that’s too big and simply won’t work. For instance, if you measure 35 1/2" at the top, 35 3/8" in the middle, and 35 1/4" at the bottom, your final width is 35 1/4". For more tips that apply to other treatments, check out our guide on how to measure for blinds.
Nailing Down The Exact Height
Now, you'll do the same thing for the height. Measure the vertical distance from the very top of the inside frame down to the windowsill. Again, do this in three places: on the far left, in the center, and on the far right.
This time, you’re going to find and record the longest of the three measurements. Using the longest dimension ensures the shade will cover the entire windowpane, leaving no awkward gaps. This is key for both privacy and light control.
To make this even simpler, here's a quick cheat sheet you can use as you measure.
Inside Mount Measurement Cheat Sheet
- For Width: Measure the window casing at the top, middle, and bottom. Record the narrowest of the three measurements. This is the most crucial step to prevent the shade from catching on the frame.
- For Height: Measure the window casing on the left, center, and right. Record the longest of the three measurements. This guarantees full coverage and eliminates any light gaps at the bottom.
Just follow this guide, and you'll have the exact numbers we need to create a perfect-fitting shade for your window.
The single most important piece of advice we can offer is to not make any deductions yourself. Give us the exact, precise measurements you took. Our workroom experts will handle all the necessary allowances for hardware and smooth operation.
This is where working with a custom shop really pays off. With over 30 years of experience, we know exactly how to turn your raw measurements into a flawless final product. Once you provide the tightest width and longest height, we make the meticulous adjustments for a perfect result every time.
How To Measure For An Outside Mount Roman Shade
An outside mount is my go-to recommendation when you want to add a bit of drama or solve a few common window problems. It’s the perfect solution for making a window feel larger than life, hiding an unattractive frame, or when there just isn’t enough depth for an inside mount. With this style, we mount the shade on the wall or trim above the window, which instantly creates a more luxurious, intentional look.
The first, and most important, step is deciding where the headrail will live. Getting this placement right is absolutely key to minimizing those annoying light gaps and achieving a polished, high-end feel.
A good rule of thumb I always share with clients is to position the headrail 2 to 4 inches above the top of the window opening or molding. This little bit of extra height works wonders—it draws the eye upward, giving the illusion of a taller window and a grander space.
Determining The Correct Width And Overlap
Next up is the width. Your goal here is to create a generous overlap that gives you total privacy and blocks as much light as possible. Start by measuring the full width of your window, including any trim or molding you want the shade to cover.
Once you have that number, you'll need to add a minimum of 2 to 4 inches to each side.
This overlap isn’t just about function; it's a critical design element that separates a custom-looking shade from an off-the-shelf one.
- An overlap of 4 to 8 inches total is the standard for excellent light control.
- It effectively stops that sliver of light from peeking in around the edges.
- The extra width just makes the whole installation look more substantial and custom-made.
Calculating The Perfect Height
Now for the height, which is where you can really customize the final look. Measure from where you decided your headrail will go—that spot 2 to 4 inches above the frame—down to the windowsill.
If you’re aiming for a more dramatic statement, like something you'd see in a high-end residential project, you can even measure lower. Letting the shade extend a few inches below the sill or even all the way to the floor creates a truly stunning, drapery-like effect. If you're dealing with a tricky spot, like a breakfast nook, our guide on the best blinds for bay windows has some more specific advice.
This visual breaks down the core measurement steps into a simple process.
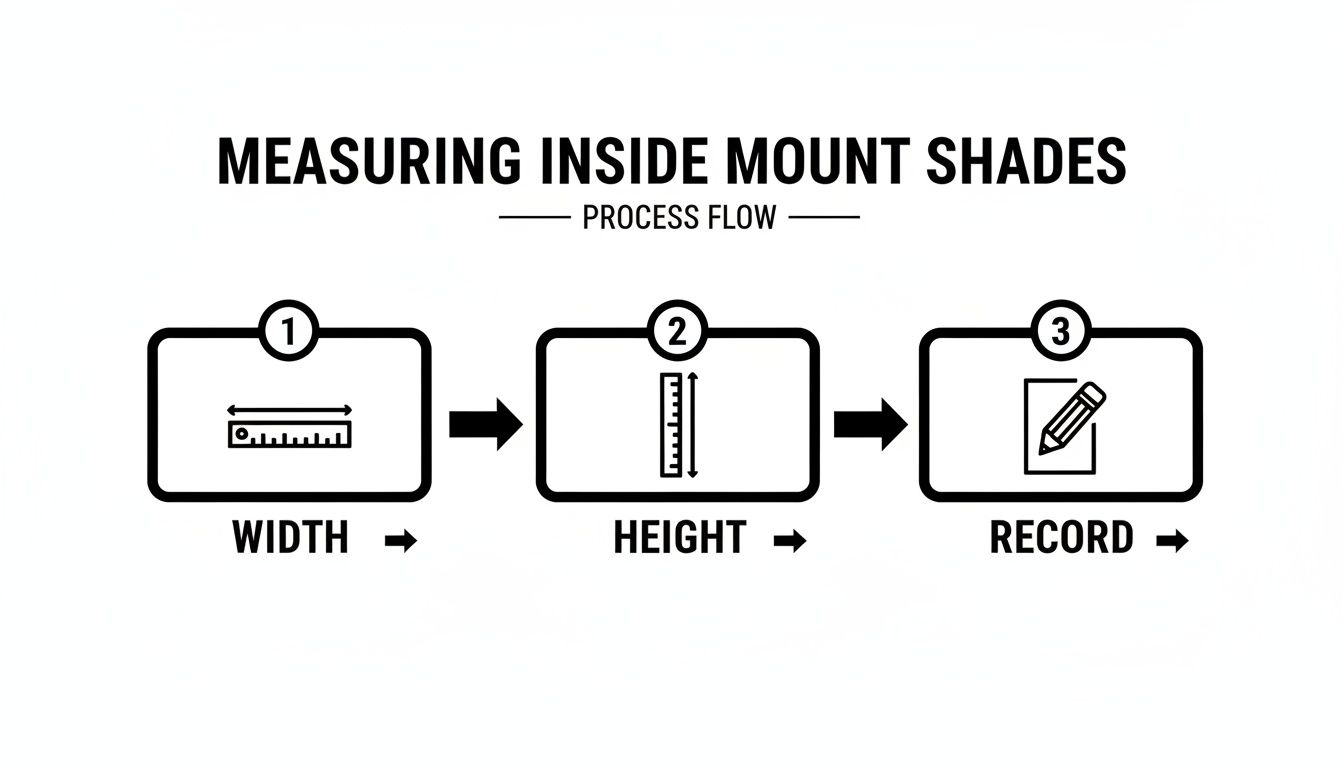
It really is that simple: measure the width, then the height, and write it all down. But the secret is in the details.
From my experience, the most common DIY measuring mistake comes from using the wrong tape measure or guessing on the allowances. Precision is everything. The details are what separate an okay result from an exceptional one.
For any outside mount, always measure the frame width at the top, middle, and bottom. Then, measure the height from your chosen headrail spot down to the sill. Always round your final numbers to the nearest 1/8 inch.
And please, use a steel tape measure! I’ve seen cloth tapes stretch and throw off a measurement by as much as 1/2 inch, which is more than enough to ruin the final fit. Getting this right from the start saves a world of headaches later.
Special Considerations For Unique Windows And Motorization
Measuring for custom Roman shades gets a little more interesting when you’re dealing with unique architecture or adding the convenience of motorization. These special cases require a slightly different game plan to get that seamless, high-end result. Every scenario, from a sweeping bay window to an automated shade, has its own set of rules for a perfect fit.
Take automated window treatments, for example. They definitely add a layer of complexity. The motor and any battery packs need their own space, which directly affects your measurements. If you’re planning an inside mount, you have to be sure your window casing is deep enough to hide the entire headrail and motor assembly. This often calls for a deeper frame than you’d need for a standard manual shade.
Measuring For Architectural Features
Architecturally interesting windows—think bays, corners, and French doors—demand some careful planning to create a cohesive, elegant look. We’re not just treating them as individual windows, but as a collective feature of the room.
Bay and Corner Windows: The real trick here is managing the corners where the shades meet. You have to account for the projection of each shade's headrail to keep them from bumping into each other when you open and close them. You'll measure each window section precisely, but it’s critical to let your specialist know they're part of a bay or corner setup so they can make the right deductions.
French Doors: For French doors, an outside mount is almost always the best way to go. You’ll want to measure the glass and then add a good amount of overlap—at least 2 inches on each side—to block light leaks and ensure total privacy. Most importantly, make sure the shade’s depth won’t get in the way of the door handle.
When you're tackling complex windows, it’s about more than just the numbers on the tape measure. It's about thinking ahead to how the shades will interact with each other and the architecture of the room. A professional workroom uses your measurements as a blueprint to engineer a perfectly integrated solution.
Taking Measurements For Outdoor Shades
Outdoor drapery and shades have become a must-have for creating luxurious lanais and patios, especially in sun-drenched climates. Measuring for these exterior applications means thinking beyond just width and height. You have to factor in exposure to the elements, which means choosing tough, weather-resistant hardware and fabrics right from the start.
When measuring for outdoor Roman shades, the process is a lot like an outside mount but with a bigger focus on clearance. Make sure there’s enough room around the opening for heavy-duty mounting brackets that can handle wind and rain. It's essential to talk about the specific environmental conditions with your specialist, as this will guide the hardware choices and the allowances needed for a beautiful installation that lasts.
To see how these advanced features all come together, you can learn more about our custom motorized Roman shades and see the possibilities they open up.
Working With Your Custom Drapery Specialist
Alright, you’ve got your preliminary measurements in hand. Now comes the best part: partnering with an expert to bring your vision to life. Communicating what you want to a custom workroom is about so much more than just rattling off numbers from a notepad. This is a collaboration, and it’s how we make sure your final Roman shades are the definition of luxury and precision.
Think of your initial measurements as a great starting point. We’ll use them to begin the conversation, but we almost always verify them in person to guarantee a perfect, professional fit. This completely removes the guesswork and is a non-negotiable part of our commitment to a flawless result.
Providing The Complete Picture
To really nail the design, we need more than just dimensions. The context is everything. You're essentially creating a design brief for your windows, and the more detail, the better.
- Photos Of The Window: A few clear pictures of the window and the surrounding wall are incredibly helpful. They let us see the space, spot potential obstructions (like awkward trim or nearby furniture), and give solid advice on the best mounting options for your specific situation.
- Inspirational Images: Have you been saving looks you love from magazines or Pinterest? Share them! These images are a powerful shortcut, giving us an instant visual cue about the style, fabric texture, and overall vibe you’re going for.
- Functional Priorities: Let us know what you need the shades to do. Are we talking blackout lining for a bedroom? A light-filtering fabric to cut the glare in a living room? Or maybe something extra durable for a covered lanai?
Collaboration is what transforms a standard window treatment into a show-stopping design feature. When you share the complete vision, our specialists can apply their technical expertise to execute it perfectly, ensuring the final product doesn't just meet your expectations—it exceeds them.
This blend of function and style is literally woven into the history of Roman shades. They got their start as practical awnings at the ancient Colosseum and became design staples during the Industrial Revolution as textile production made them more accessible. Today, that same dedication to a perfect fit is what drives a 98% satisfaction rate in the U.S. custom shades market—a market that reached $2.5 billion in sales. You can see how the fundamentals of a perfect fit still apply by checking out this classic Roman measuring guide.
Common Questions We Hear About Measuring Roman Shades
Even with the best guide in hand, a few questions always pop up when you're measuring for Roman shades. Getting these details right is what separates a good-enough result from a truly professional, custom-fit look. Let's walk through some of the most common questions we get from clients.
What's The Real Difference Between Inside And Outside Mounts?
This really comes down to aesthetics and function.
An inside mount is exactly what it sounds like—the shade fits neatly inside the window frame. This creates a very clean, built-in look that's perfect for showing off beautiful window molding or trim. The catch? It requires very precise measurements and enough depth in your window casing to hold the hardware.
An outside mount, on the other hand, hangs on the wall above and outside the window frame. It’s a more forgiving option if your windows are shallow or a bit out of square. This style can also create a bit of an optical illusion, making your window appear larger and grander than it is.
Should I Take My Own Deductions From The Measurements?
Absolutely not. This is a big one. You should never make your own deductions when you take your measurements.
When you’re ordering a custom shade, just give us the exact, tightest width measurement for an inside mount. That’s all we need.
A professional workroom will handle all the necessary calculations, typically taking off just a tiny bit—around 1/4 to 1/2 inch—to make sure the shade operates smoothly and doesn't scrape against the frame. This is a critical step that requires experience, so it's best to leave it to the fabricators.
One of the biggest perks of working with a custom specialist is that we handle all the guesswork. You provide the raw numbers, and we apply years of expertise to engineer the perfect fit.
How Much Should An Outside-Mount Shade Overlap The Window?
For an outside mount, we almost always recommend adding at least 2 to 4 inches of overlap on each side of the window frame. That means your final shade width will be 4 to 8 inches wider than the window opening itself.
Why? This extra coverage is key for blocking light bleeds from the sides and giving you complete privacy. It’s what makes the window treatment feel intentional and complete.
How Deep Does My Window Need To Be For An Inside Mount?
The depth you need for an inside mount really depends on the fabric you choose and the operating system. Heavier fabrics and motorized systems often require a bit more space.
As a general rule, you’ll want at least 1.5 to 3 inches of clear, unobstructed depth to get that flush, seamless fit. The best bet is always to chat with your window treatment specialist. They can confirm the exact depth needed for the specific style and hardware you have in mind.
At The Drapery Company, we live for turning precise measurements into stunning, perfectly fitted window treatments. Explore our custom solutions at draperycompany.com or schedule a consultation to bring that timeless elegance into your space.


