Plantation Shutters Cost: A Complete Pricing Breakdown
August 24, 2026
What Is the Ideal Valance Height for Your Windows?
August 26, 2026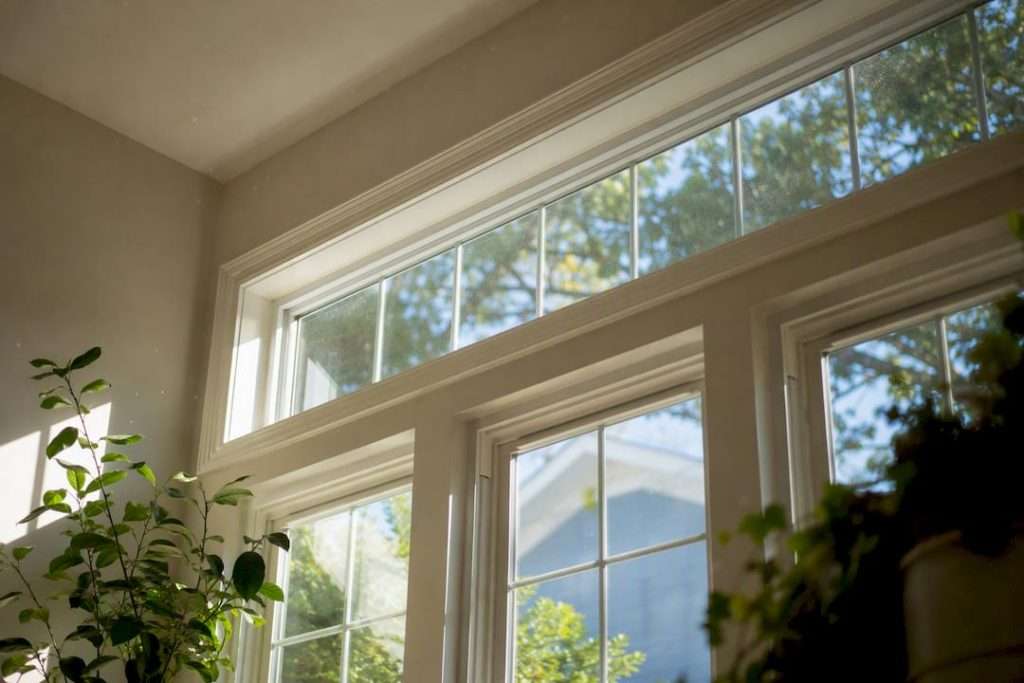
Most decorative transom windows look better bare, as explained in The Luxury of Glass Interior Doors, which highlights the importance of preserving glass and architectural details in interior doors and transoms. Cover one only when privacy, glare, or heat gain actually demands it, and when you do, choose a custom, professionally measured solution over a stock fix. Purely architectural transoms, the kind sitting above a front door or between two living room windows, tend to lose their character the moment you hang something across them.
If a treatment is warranted, three approaches cover almost every situation:
- Permanent film or obscured glass for privacy without blocking daylight, and no hardware to maintain.
- Custom stationary drapery or an above-mounted treatment that visually connects the transom to the window below it.
- Cellular or motorized shades for transoms that open, or for spans too high to reach by hand.
If your transom is arched, operable, or wider than a standard door frame, measure carefully or request a professional consultation before you buy anything off a shelf.
Key Takeaways
The right transom window covering depends on function first: privacy, glare, or heat gain justify a treatment, while purely decorative transoms usually look best left bare.
| Point | Details |
|---|---|
| Default to bare | Leave purely decorative transoms uncovered unless privacy, glare, or heat gain creates a real problem. |
| Match material to function | Choose cellular shades for insulation, film for permanent privacy, or sheers for light diffusion. |
| Mount above, not between | Mounting drapery near the ceiling line above the transom visually unites it with the window below. |
| Respect the frame | Never mount hardware into glass or an unreinforced header, and add support brackets for spans over 60 inches. |
| Call a specialist for complexity | Draperycompany provides onsite measurement, onsite fabrication, and professional installation for arched, high, or operable transoms. |
Table of Contents
- When to Cover Transom Windows and When to Leave Them Bare
- What Are the Best Options for Covering a Transom Window?
- How Do You Measure and Mount a Transom Window Covering?
- What Should You Know About Operable and Motorized Transoms?
- How Do Fabric and Material Choices Affect Light and Privacy?
- Where Should You Mount the Rod, and What Style Fits?
- What Does a Custom Transom Window Covering Cost, and How Long Does It Take?
- When Should You Hire a Specialist for Transom Windows?
- A Design-First Take on Transom Coverings
- How Draperycompany Handles Transom Windows the Right Way
- Sources
- FAQ
When to Cover Transom Windows and When to Leave Them Bare
The decision comes down to three functional triggers: privacy, glare, and solar heat gain. If none of those apply, you’re usually better off leaving the transom alone. Many designers actually advise against covering decorative transoms unless there’s a real functional need, because the glass itself is part of the architecture. Cover it reflexively and you’ve just hidden a design feature you paid for.
Privacy is the most common reason people reach for a transom window covering. A transom over a front door facing a busy sidewalk, or one above a bathroom window, creates a sightline problem no amount of “it’s just decorative” reasoning solves. Glare is the second trigger, and it shows up most in west-facing rooms where afternoon sun hits a transom at an angle that no blind on the lower window can block. Heat gain is the third, and it matters more in transoms with single-pane or older glass, where a few square feet of unshaded glazing can meaningfully warm a room over a Florida afternoon.
Here’s a quick way to work through the decision:
- Ask if anyone outside can see in. If yes, and it bothers you, privacy is your driver.
- Check the room at different times of day. Glare that shows up only between 3 and 6 p.m. might not justify a permanent treatment.
- Feel the glass in summer. Warm to the touch usually means measurable heat transfer into the room.
- Look at the transom’s shape. Arched, fan-shaped, or leaded glass transoms often lose more visual value when covered than a plain rectangular one.
- Consider whether it opens. Fixed transoms are frequently left bare since there’s no operating hardware to work around, while operable transoms need a treatment that respects the hardware.
Pro Tip: If you’re on the fence, live with the bare window for two weeks before covering it. Glare and heat issues tend to reveal themselves fast, and a lot of homeowners find the “problem” was seasonal and temporary.
For interior decorators working on a whole-room plan, this checklist doubles as a client conversation starter. It’s much easier to justify a covering to a homeowner when you can point to a specific hour of glare or a specific sightline problem, rather than defaulting to “it needs something.”
What Are the Best Options for Covering a Transom Window?
Once you’ve decided a transom window covering is warranted, the type of treatment should follow the function you actually need: light diffusion, blackout, ventilation access, or pure privacy. Here’s how the main categories perform.
Frosted film and obscured glass solve privacy permanently, with zero moving parts and no fabric to clean. You apply the film once, and it stays put. The tradeoff is flexibility. Once it’s on, you can’t switch it out for a sheer look during the holidays or open it fully for a bright morning. It works best on fixed transoms where the privacy need never changes, like a bathroom or a front entry.
Shades are the most versatile category, and picking the right construction matters more than picking a brand:
- Cellular shades trap air in honeycomb pockets, which makes them the strongest option for insulation. On a large or west-facing transom, that pocket of trapped air is doing real thermal work, not just cosmetic coverage.
- Roller shades give you the cleanest, most minimal look, and they’re the easiest to keep flat against an unusually shaped opening.
- Flat Roman shades bring texture and softness without the bulk of gathered fabric, a good middle ground for homeowners who want fabric but not fullness.
Solar and roller shades, woven wood shades, flat Roman shades, and shutters all show up repeatedly in professional installations for exactly this reason: each solves a different combination of light control and style.
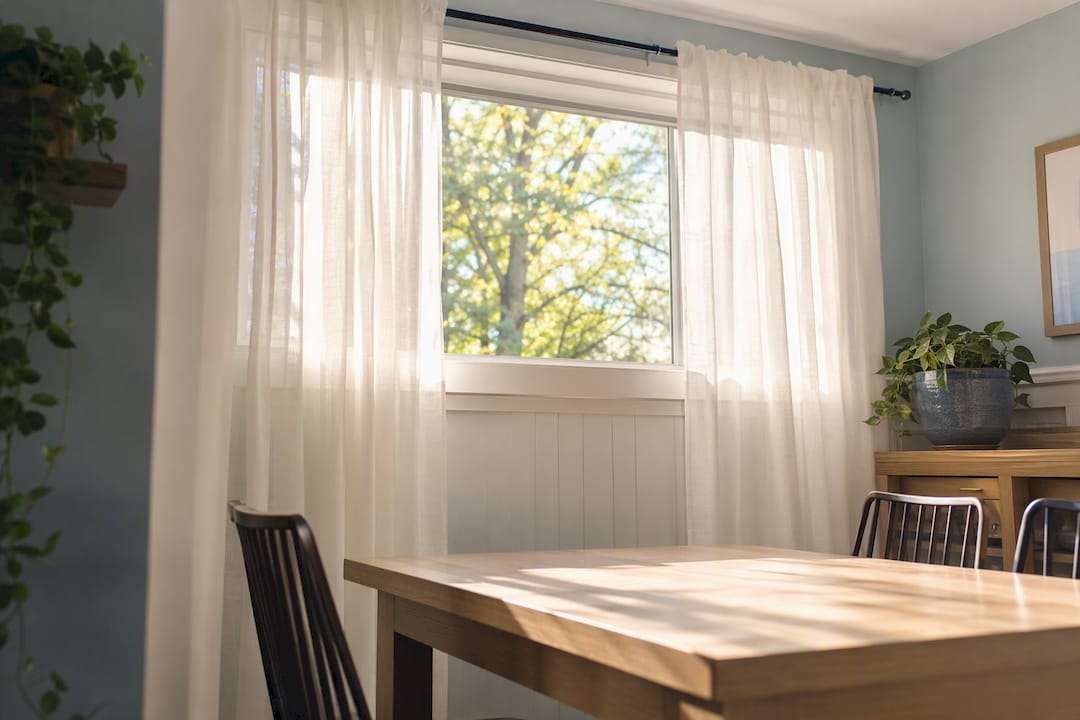
Sheers and tailored panels diffuse light rather than blocking it, and they carry the least visual weight of any option. On a transom, that matters, because heavy fabric on a small window can look like it’s fighting the proportions of the wall. Sheers hung on a slim tension rod or a low-profile track keep the transom feeling open even while it’s technically “covered.” If you want a similar effect on the room’s main windows, a pull rod curtain mechanism can give you the same light, low-profile operation at a larger scale.
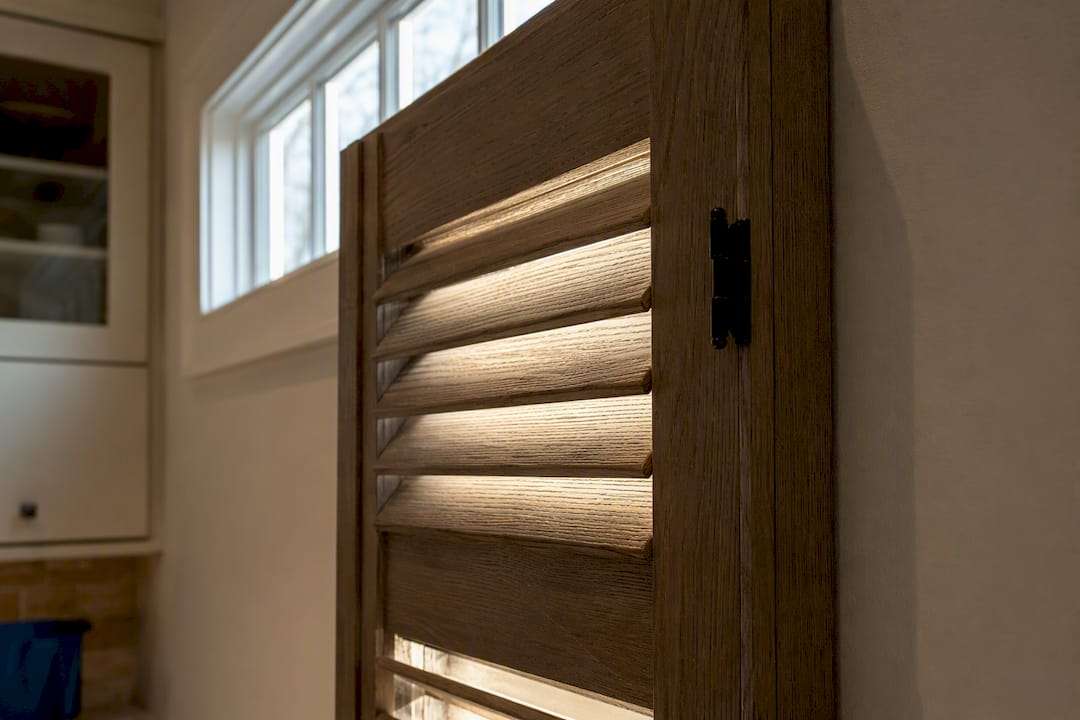
Shutters and louvers work when the goal is architectural cohesion rather than softness, particularly in craftsman, colonial, or Mediterranean-style homes where painted wood shutters already appear elsewhere in the room. They’re the most durable option on this list and the least likely to need replacing in a decade, but they’re also the least adjustable for light, since louvers move in fixed increments rather than continuous gradients.
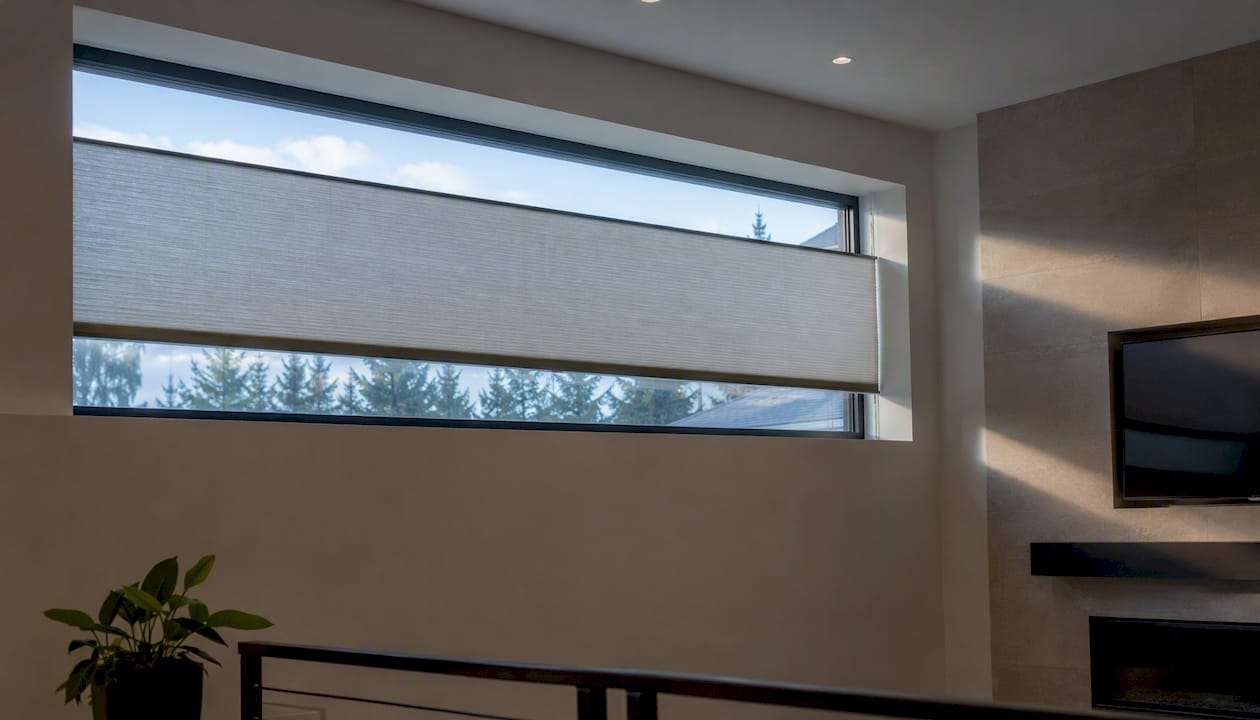
Motorized solutions solve a problem the other categories can’t: reach. A transom mounted 10 feet up doesn’t get a pull cord; it gets a remote, a wall switch, or a smart-home schedule. Top-down/bottom-up shade configurations let you drop the top portion for privacy while keeping the bottom open for light, or the reverse, which is often the single best compromise for a transom that sits above a window you still want to see out of. Motorized cellular shades in particular are frequently recommended for transoms that are either operable or simply hard to reach by hand.
One category worth a caution: stock transom-size shades sold through general retailers. These products exist and are widely available, but transom openings are notoriously inconsistent in width, depth, and squareness from house to house. A shade sized for a “standard” transom often needs trimming, shimming, or an improvised mount to actually fit, which is where a lot of DIY transom projects go sideways.
How Do You Measure and Mount a Transom Window Covering?
Transom windows sit in an awkward zone: high enough that ladders are involved, often paired with glass or trim that wasn’t built to hold hardware weight. Getting the measurement and mounting right the first time saves you a return trip up the ladder and, more importantly, protects the window frame itself.
The starting rule is simple: never mount hardware directly into the glass or a weak frame unless the transom has a reinforced header, sometimes called a Palladian shelf, built specifically to carry that load. Mounting shades into glazing without that reinforcement is one of the most common ways homeowners crack a frame or pull hardware loose within the first year.
Work through this checklist before you drill anything:
- Measure width in three spots (top, middle, bottom) since transom openings are rarely perfectly square, especially in older homes.
- Measure height at both ends and the center, again to catch any lean or settling in the frame.
- Measure depth for clearance, particularly if you’re stacking a shade in front of an operable sash that needs to swing or slide open.
- Check for operator hardware clearance on any transom that opens, so the covering doesn’t block the crank or hinge.
- Confirm whether the header can carry the hardware’s weight, and if you’re unsure, treat that as a signal to call a professional rather than guess.
Spans over 60 inches introduce a separate problem. Acrylic and lightweight hardware can bow under their own weight across a span that wide, which means you need additional support brackets at the midpoint, not just at the ends. This is easy to overlook because a 60-inch rod looks perfectly straight in the store. It’s the months of gravity afterward that reveal the sag.
Pro Tip: Bring a laser level, not just a tape measure, to a transom measurement. Even a quarter-inch of lean across a wide transom is enough to throw off a track that’s supposed to sit flush against the wall.
Getting comfortable with the tape measure fundamentals covers most standard rectangular transoms. Arched, fan-shaped, or otherwise irregular transoms are a different problem entirely, and measuring for a curved opening requires a template approach rather than a straight tape pull. If your ceiling is vaulted, your transom is arched, the window actually operates, or you’re adding motorization, hire a professional for the measurement and the mount. Those four conditions are exactly where DIY installs go wrong most often, and where a bowed rod or a cracked frame costs more to fix than the professional visit would have.
What Should You Know About Operable and Motorized Transoms?
Transoms that open serve a real ventilation purpose, particularly in older homes designed before central air, and a covering that ignores that function defeats the point of the window. Before choosing anything, confirm the sash actually moves freely and check how much clearance the operator hardware, crank, hinge, or pivot arm, needs to swing through its full range.
Motorization solves the two hardest problems with high transoms at once: reach and cord safety. You have three practical paths:
- Battery-powered motors for retrofits where running wire isn’t practical.
- Hardwired motors for new construction or a renovation where the wall is already open.
- Smart hub integration that lets the transom shade run on the same schedule as the rest of your home’s shades, rather than as an isolated device you control separately.
Top-down/bottom-up configurations pair especially well with motorization on a transom, since you can program the shade to drop from the top at sunset for privacy while keeping the bottom clear, or automate the whole thing around a daily light schedule instead of remembering to adjust it by hand. A top-down/bottom-up shade gives you that dual control without touching the fabric twice a day.
Before any installation on an operable transom, confirm the exact hardware clearance and test the full range of sash movement. Motorized units in particular need to leave the operator accessible and meet the manufacturer’s stated clearance specs, since a shade that blocks the crank turns a functional window into a fixed one by accident. This single verification step is the one most DIY installs skip, and it’s the one that causes the most callbacks.
How Do Fabric and Material Choices Affect Light and Privacy?
The fabric or material you choose for a transom window covering determines almost everything about how the room feels at different times of day, more than the mounting style or even the color does.
Sheer fabrics filter light without blocking it, softening a harsh transom without darkening the room. Light-filtering fabrics sit a step up in opacity, cutting glare while still letting diffused daylight through, a good default for most living spaces. Blackout fabric belongs on transoms tied to bedrooms or media rooms, where the goal is total light control rather than ambience.
- Cellular shades double as insulation, trapping air in their honeycomb structure to reduce heat transfer through the glass, which matters most on a large or unshaded transom.
- Decorative film and frosted glass need essentially zero maintenance once applied and solve privacy permanently, making them the lowest-effort option on this whole list.
- Woven wood and textured shades add warmth and texture but collect more dust in a high, hard-to-reach spot, which matters for cleaning schedule.
- Smooth fabrics and film wipe clean with a duster or a damp cloth, a real advantage on a transom you’d otherwise need a ladder to reach every time you clean it.
Cleaning frequency should factor into your material choice as much as style does. A transom eight feet up doesn’t get dusted weekly, so a textured woven shade that shows dust fast is a higher-maintenance choice than most homeowners realize until they’re standing on a ladder for the third time in a year.
Where Should You Mount the Rod, and What Style Fits?
Where you place the hardware changes how the whole window composition reads, not just the transom itself. Designers typically mount drapery rods above the transom, near the ceiling line, rather than between the transom and the window below it. That single choice draws the eye upward, makes the ceiling feel higher, and treats the transom and the main window as one continuous opening instead of two separate ones.
Mounting between the transom and the lower window does the opposite: it segments the composition and visually shrinks the transom into an afterthought. The above-mount approach almost always wins for rooms where height and drama matter, while a between-mount can make sense only when the transom needs total independence, such as a bathroom transom above a window that stays covered permanently.
- Modern homes pair well with roller shades or minimal drapery hardware in matte black or brushed metal.
- Traditional homes favor stationary panels or shutters that echo existing millwork.
- Period homes with leaded or divided-light transoms often do best with sheers that don’t compete with the glasswork itself.
Texture and finish do real work in balancing scale. A heavy drapery fabric on a small transom overwhelms it, while a light linen or sheer in the same silhouette lets the window keep its proportions.
What Does a Custom Transom Window Covering Cost, and How Long Does It Take?
Budget and timeline for a transom window covering split roughly into three tiers, and the right one depends on how much fit control you actually need.
Low-cost, immediate options include frosted film and DIY roller shades, both installable the same day you buy them. These work fine on standard rectangular transoms with no operating hardware and no unusual shape.
Mid-range options, stock shades or semi-custom mounts, typically take one to three weeks from order to installation. This tier fits homeowners with a fairly standard transom size who want better fit than an off-the-shelf product but don’t need full customization.
High-end custom work, made-to-measure shades or drapery, shutters, and motorized systems, generally runs three to eight weeks or longer, depending on fabrication complexity and whether motorization components need to be ordered separately.
- Unusual shapes (arched, fan, angled) add fabrication time and cost.
- Motorization adds both cost and a lead time for the motor components themselves.
- Reinforced hardware for spans over 60 inches adds a bracket and support step most stock products don’t include.
- Onsite professional measurement, while it adds a scheduling step upfront, is often what prevents a second order when the first shade doesn’t fit.
The tradeoff is straightforward: faster and cheaper routes fit standard windows, and anything arched, wide, operable, or motorized benefits from the extra weeks a custom process takes.
When Should You Hire a Specialist for Transom Windows?
Some transoms are simple enough to handle yourself. Others aren’t, and knowing the difference before you start drilling saves both money and a damaged frame. Call in a specialist when you’re dealing with:
- Arched or fan-shaped transoms, where measurement requires a template rather than a straight tape pull.
- Vaulted or high ceilings, where a ladder alone can’t give you the stability to measure or mount accurately.
- Operable transoms, where hardware clearance and sash movement have to be verified before any treatment goes up.
- Spans over 60 inches, where support brackets need to be planned into the mount, not added after the fact.
- Motorization, where wiring, hub integration, or battery placement needs to be planned around the room, not improvised.
Specialist guidance consistently points to onsite measurement as the step that prevents the most common transom mistakes, particularly on vaulted ceilings or complex mounts where hardware balance is easy to get wrong from the ground.
This is where Draperycompany’s approach differs from a stock purchase. Every project is fabricated onsite, built around 30-plus years of measuring exactly these kinds of awkward openings across thousands of completed installations in the Tampa Bay area. That combination, professional measurement paired with onsite fabrication, is what catches a leaning frame or an undersized header before it becomes a mounting failure.
A professional measurement visit exists to catch the three things that ruin a DIY transom install: a frame too weak to hold the hardware, a header that isn’t actually reinforced the way it looks, and drapery cut to a size that seemed right from the ground but was off by an inch once someone got up on a ladder with a level.
Old treatment removal is included as a courtesy on every installation, so you’re not left managing torn-down blinds or a previous tenant’s hardware on your own. For a transom paired with an arched or otherwise irregular window, that professional visit typically pays for itself the first time it prevents a return trip for a second measurement.
A Design-First Take on Transom Coverings
The biggest mistake I see homeowners make with transom windows is treating them like a problem to solve rather than a feature to work with. Most transoms were installed specifically to bring in light or height, and covering one by default, because a room “needs curtains,” usually subtracts more than it adds. The better question isn’t “what should I hang on this window,” it’s “does this window actually need anything at all.”
Where I’d push back on the instinct to DIY everything: transom windows are one of the few places in a home where a small measurement error has an outsized consequence, since you’re often dealing with a weak frame, a hard-to-reach mount, or hardware that has to clear an operating sash. A half-inch mistake on a living room window is forgivable. The same mistake eight feet up, on a frame that wasn’t built to hold weight, can mean a cracked header. If your transom is standard, fixed, and rectangular, DIY away. If it’s arched, high, operable, or wide, get a second opinion before you drill.
— Muna
How Draperycompany Handles Transom Windows the Right Way
If you’ve read this far, you already know the hard part of a transom window covering isn’t picking a fabric, it’s getting the measurement and mounting right on an opening that’s often high, oddly shaped, or attached to hardware that opens. That’s precisely the gap Draperycompany closes for Tampa Bay homeowners who want a treatment that fits the first time, not the second.

The process runs in four steps: a consultation to talk through privacy, glare, and style goals, a professional onsite measurement that accounts for frame strength and any lean in the opening, onsite fabrication so the finished piece is built to that exact measurement rather than a generic size, and a professional installation that includes removing your old treatments at no extra step for you. Because everything is fabricated onsite rather than ordered from a catalog, adjustments for an arched transom or a reinforced mount happen before installation day, not after a shade shows up too small.
If your transom sits above an arched window, Draperycompany’s custom arch window solutions are built around exactly this kind of irregular opening. And if heat gain through an unshaded transom is part of what’s driving the decision to cover it, shades designed for heat reduction address that directly rather than as an afterthought. Request a consultation and get a professional measurement on the calendar before you buy anything off a shelf that might not fit.
Sources
- How to – Window Treatments for Transom Windows – Window Works
- How To Treat Difficult Windows: The Transom Window – Window Fashionista
- Transom Window Types and Their Role in Light and Ventilation – Build-Construct
- 6 Transom Window Covering Ideas | Norman™ Canada
- Everything You Need To Know About Transom Windows – Vitalia Inc. Blog
FAQ
How Do You Dress a Transom Window?
Dress it based on function: use frosted film or obscured glass for permanent privacy, cellular or roller shades for adjustable light control, or mount drapery above the transom to connect it visually with the window below.
Are Transom Windows Outdated?
Transom windows aren’t outdated; they remain a common architectural feature valued for the extra daylight and height they add, and most design guidance recommends preserving them rather than hiding them behind heavy treatments.
What Is the Current Trend for Transom Window Coverings?
The current trend favors minimal, function-driven coverings: motorized cellular shades for operable or hard-to-reach transoms, frosted film for permanent privacy, and drapery mounted above the transom rather than between it and the lower window.
What Curtains Work Best for Windows With Transoms?
Sheer or light-filtering panels mounted on a rod placed above the transom work best, since they diffuse light and visually unite the transom with the main window instead of splitting the composition. For a custom fit on an unusual transom shape, Draperycompany’s arch window solutions handle the measurement challenges directly.