Custom Drapery Lead Time: Why Complex Orders Can Pass Eight Weeks
October 15, 2026
Healthcare Privacy Window Treatments: Keep Daylight, Meet Safety Rules
October 17, 2026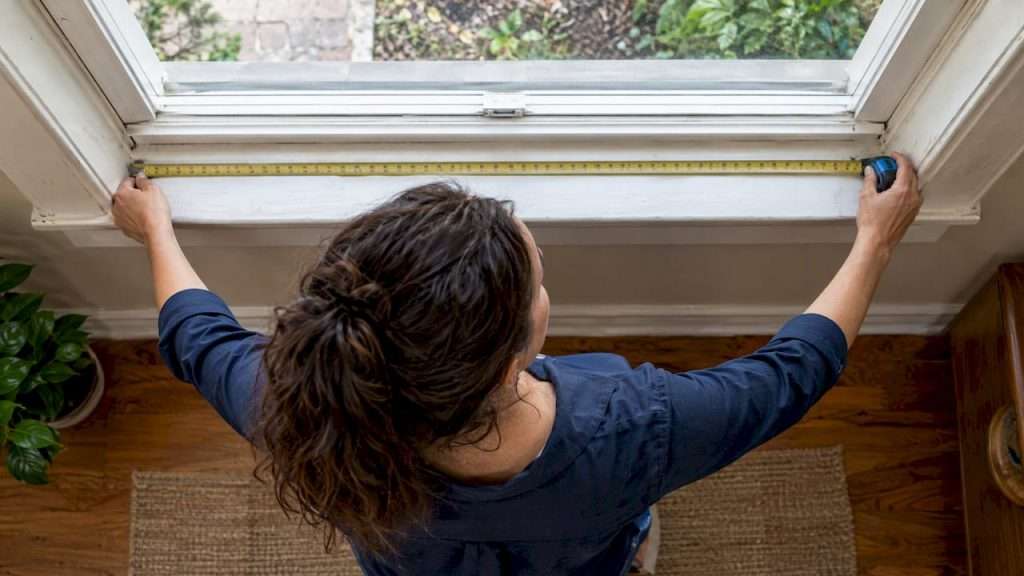
Most homeowners can install standard blinds and shades themselves, as long as the measuring is careful and the safety rule comes first: choose cordless window coverings, or make sure cords are permanently out of reach. Motorized, oversized or oddly shaped windows are better left to a pro. Below, we cover tools, measuring, mounting, finishing and when to call us.
TL;DR:
- For inside mounts, measure width and height at three points, use the smallest measurements, and verify frame depth before ordering.
- Choose cordless coverings or install a proper safety retrofit; knots and improvised ties do not make existing window covering cords safe.
- Drive screws into studs where possible, use suitable anchors elsewhere, and test the treatment’s full movement before tightening or trimming components.
- Hire a professional for motorized, oversized, custom, or unusually shaped windows; standard DIY installation takes about 30 to 60 minutes per window.
- Professional installation typically adds $15 to $50 per window in labor, while old treatment removal can add roughly $10 to $30 per window.
What tools and materials do you need before you start?
Gathering everything first saves you a mid-project trip to the hardware store, and finding yourself on a ladder with the wrong screw in hand can stall a DIY install.
- Drill/driver and a set of drill bits
- Level, tape measure and pencil
- Stud finder or a probing tool
- Screws, wall anchors (toggle or plastic), mounting brackets and shims
- Ladder, eye protection and drop cloths
- A retrofit safety kit, if you are keeping any corded product
Manufacturer hardware is sometimes too short for plaster or deep jambs, so keep a few extra-length screws on hand.
Pro Tip: Test your drill bit and anchor on a hidden spot first. Plaster, drywall and masonry each take a different fastener.
How do you measure for inside and outside mounts?
Measuring is where most ordering mistakes happen, so slow down and write every number down.
- Inside mount: Measure the inside width at the top, middle and bottom, and use the smallest figure. Do the same for height at three points. Check the depth of the frame so the headrail has room to sit.
- Outside mount: Measure the full area you want covered. A common rule of thumb is to start above the frame and add side overlap for privacy and light control.
- Obstructions: Note cranks, handles and anything else that sticks out, and take photos of unusual shapes.
- Uneven jambs: Plan on shims, and call a professional when a window is custom or architecturally complex.
Our guides on how to measure for blinds walk through each of these checks with examples.
How should you prep the window and remove old treatments?
Prep decides how clean the final result looks. Skipping it is the reason brackets sit crooked and screws strip out.
- Take down old blinds and shades carefully, then recycle or dispose of them. If you pay someone to haul them off, removal and disposal can add roughly $10 to $30 per window.
- Inspect the jamb or wall for holes, rot or damage, then repair, clean and dry the surface before mounting.
- Decide on power early. Battery-powered motors avoid wiring, while hardwired systems need electrical work.
- Cover floors and furniture, and lay out your tools and hardware within reach of the ladder.
What are the steps for mounting brackets and headrails?
Work one window at a time and double-check level before you drill.
- Mark the bracket locations according to your inside or outside mount measurements, then confirm the marks are level.
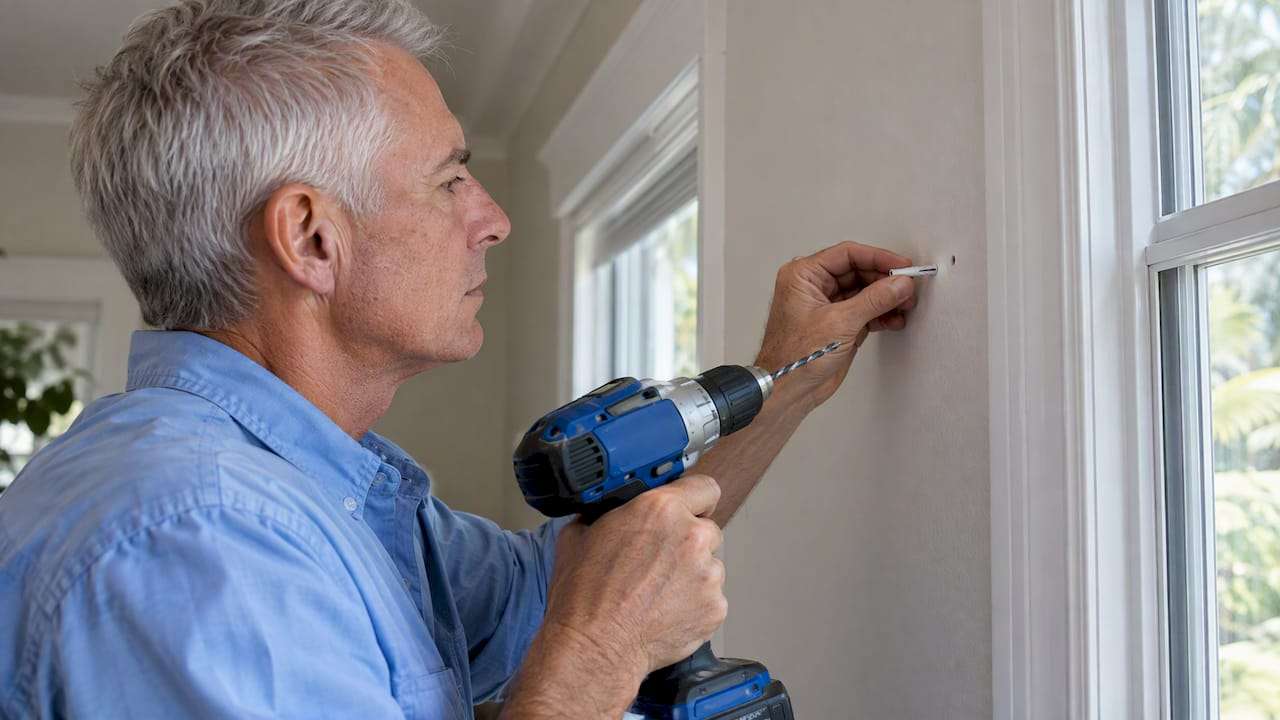
- Drill pilot holes. Screw into a stud where you can, and use the right anchor where you cannot.
- Install the brackets securely, and check that each one is firm before loading it.
- Seat the headrail into the brackets and secure the fasteners per the manufacturer’s instructions.
- Operate the treatment before the final tightening, and adjust anything that binds.
- Trim or cut the headrail or hem bar only after you confirm smooth action.
- For multiple headrails side by side, index the bracket spacing so the units line up.
Pro Tip: Mark all your bracket positions on painter’s tape first. If a mark looks off, you can move the tape without leaving a hole behind.
For a detailed inside-mount walkthrough, see our guide on hanging inside mount blinds, and for a broader overview, our general blind installation guide.
How does installation differ for blinds, roller shades and cellular shades?
The mounting sequence is similar, but each product has a quirk worth knowing before you begin.
- Blinds: Make sure the tilt mechanism has clearance, cut the headrail only if you must, and confirm the slats operate freely.
- Roller shades: Tensioning and end-cap placement control how smoothly the shade rolls, and a straight hem bar gives an even drop. See our roller shade guide.
- Cellular shades: Confirm top and bottom orientation, check clip placement for cordless lifts, and allow for the honeycomb depth. Our cellular shade guide covers this in detail.
- Special shapes or layered treatments: These often need professional fabrication and measuring.
What do motorized systems and safety standards require?
Motorized units add power and complexity, and corded products add risk. Plan for both before you buy.
- Power: Battery models avoid wiring. Hardwired systems may require an electrician and raise the cost, so budget accordingly.
- Standards: The ANSI/WCMA standard and CPSC guidance point toward cordless systems or permanently anchored safety devices.
- Retrofits: Knots, ties and other improvised fixes on corded blinds are unsafe, so replace them or use a proper retrofit.
- Interim steps: If you cannot replace a corded unit right away, move furniture away and anchor continuous loop cords. These steps reduce risk but do not remove it.
The CPSC advises that cordless window coverings are the safest option in homes with children. That single choice removes the hazard instead of managing it.
How do you finish, test and maintain the installation?
A final check is what separates a neat install from one you will redo in a month.
- Run the treatment through its full range and confirm it moves smoothly.
- Check that the headrail is level and the slats or hem are aligned.
- Remove or secure any excess cord, and confirm cordless operation where it applies.
- Add valances, hide the brackets, touch up paint or caulk, and clean up.
- Dust regularly, and recheck fasteners and mechanisms from time to time.
Pro Tip: Recheck screws after installation. New installs settle slightly, and a quick turn keeps everything tight.
When should you hire a pro instead of doing it yourself?
DIY works well for standard windows, but some jobs belong with a professional.
- Hire a pro for motorized systems, very large or odd-shaped windows, and custom or warranty-covered work.
- Allow roughly 30 to 60 minutes per standard window if you have tools and experience. Complex installs take longer.
- Ask about in-home measuring, old-treatment removal and bundled pricing across multiple windows.
Why measuring and installing with a professional pays off
We have more than 30 years of experience, and we fabricate every product onsite, so we control the fit and finish from the first cut to the last screw. Professional measuring and installation can help reduce the chance of callbacks and help custom treatments match your expectations. When a window is complicated, that confidence is worth more than the time you save; consider one-day interior door replacement with digital measurement for precise, rapid fitting solutions.
— The Drapery Company
Let us measure and install for you
If you would rather skip the ladder, we can handle the whole job. Our in-home consultations and professional installation take the guesswork out of custom fits.
- In-home measuring and professional installation
- Courtesy removal of your old window treatments
- Onsite fabrication for quality control
Request a quote or schedule your in-home measurement today.
FAQ
How much does it cost to have window treatments installed?
Costs vary by product, window size and whether you need removal. Professional installation commonly adds about $15 to $50 per window in labor, with materials on top. Motorization and custom work raise the total.
What is the rule of thumb for blinds?
For an outside mount, start the blind above the window frame and add side overlap for privacy. For an inside mount, use the smallest of your three width measurements so the blind fits without rubbing.
Do blinds need to be screwed into studs?
Not always. Studs give the strongest hold, but the right wall anchor works when no stud lines up. Heavier or wider treatments are safer in a stud, so check with a stud finder first.
How long does it take to install blinds yourself?
A standard window usually takes about 30 to 60 minutes if you have the tools and some experience. Complex or motorized installs take longer.
Sources
- Cpsc
- Cpsc
- How Much Do Plantation Shutters Cost? 2026 Data | Angi
- How Much Do Window Treatments Cost? 2026 Data | Angi
Recommended
- Homeowners: 1/16 inch Precision From Professional Window Measurement
- Should Your Windows and Doors Be Professionally Measured for Window Treatments and Drapes | Professional Measurement for Window Treatments: Why It’s Essential
- How to Measure Arch Windows for Custom Treatments
- How to Measure French Doors for a Perfect Fit